DynID is the integrated log-on credentials that allows customers to: (1) access both Managed DNS and Email with one logon, (2) create and manage their own support tickets, (3) reset passwords online, and (4) manage credit cards for billing.
In addition to a single DynID, Dyn accounts still benefit from a 2-Factor Authentication process for increased account security.
Setting Up DynID
| The DynID portal is located here: https://portal.dynect.net. Bookmark this link for future access to your Dyn account. | |
| 1a. Open a browser and go to https://portal.dynect.net/enroll/. 1b.Select your Dyn product from the drop-down list and enter your current credentials for that account. | 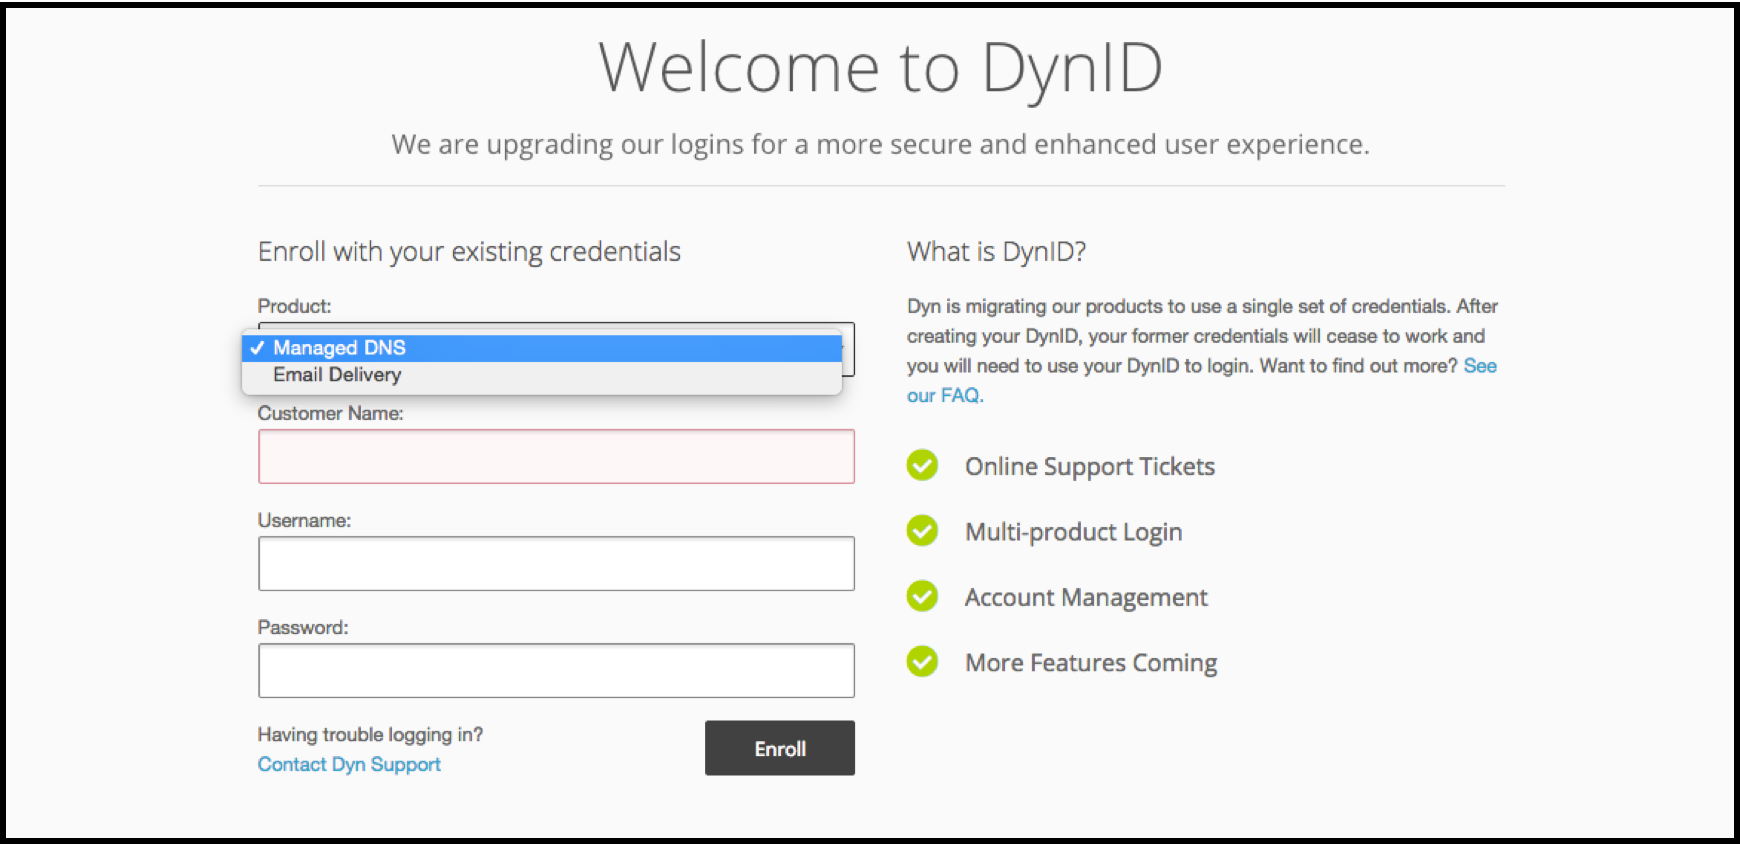 |
| 2. Enter your contact information for this account and technical support. | 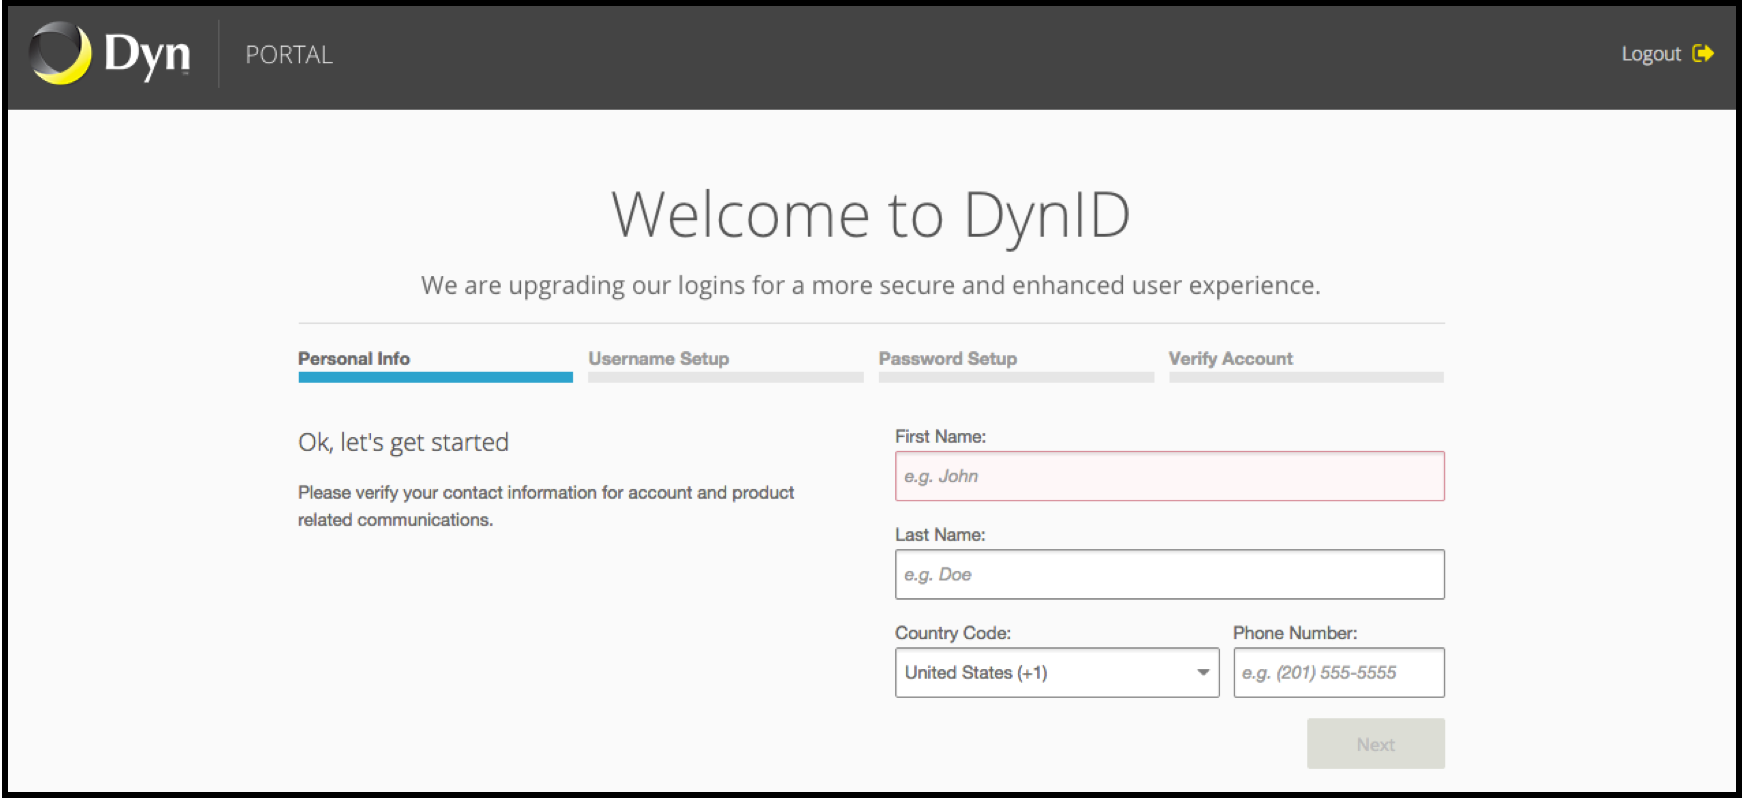 |
| 3. Create your DynID with your work email address. Enter your DynID address. Caution: DynIDs are not easily changed. Choose your email account carefully. You must be able to access the email account you enter in order to complete the DynID creation process. | 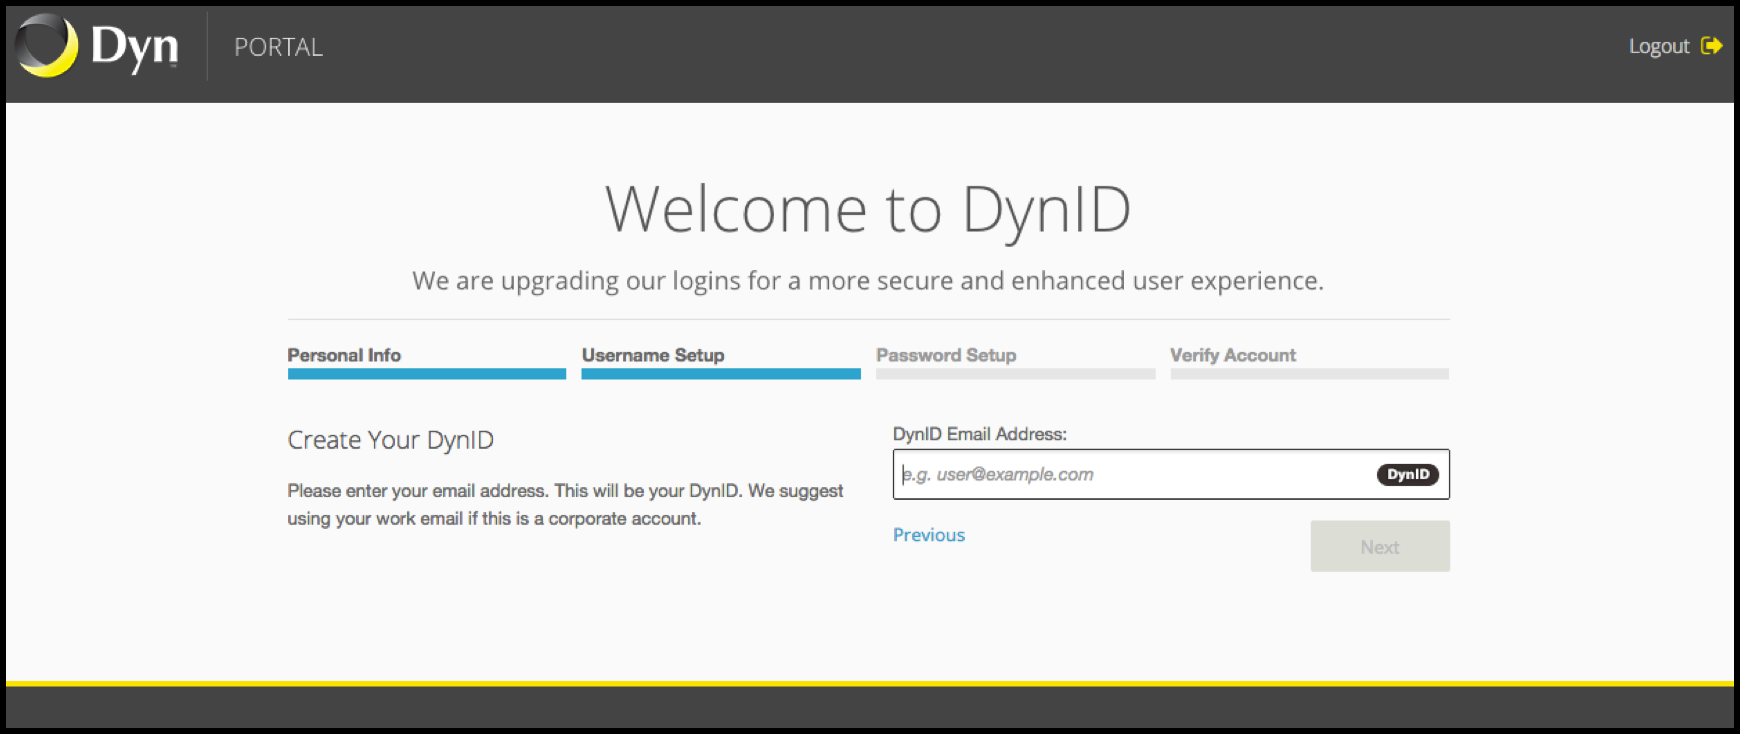 |
| 4. Choose a (strong) password. NOTE: The check marks will light up as the specific requirement is met. | 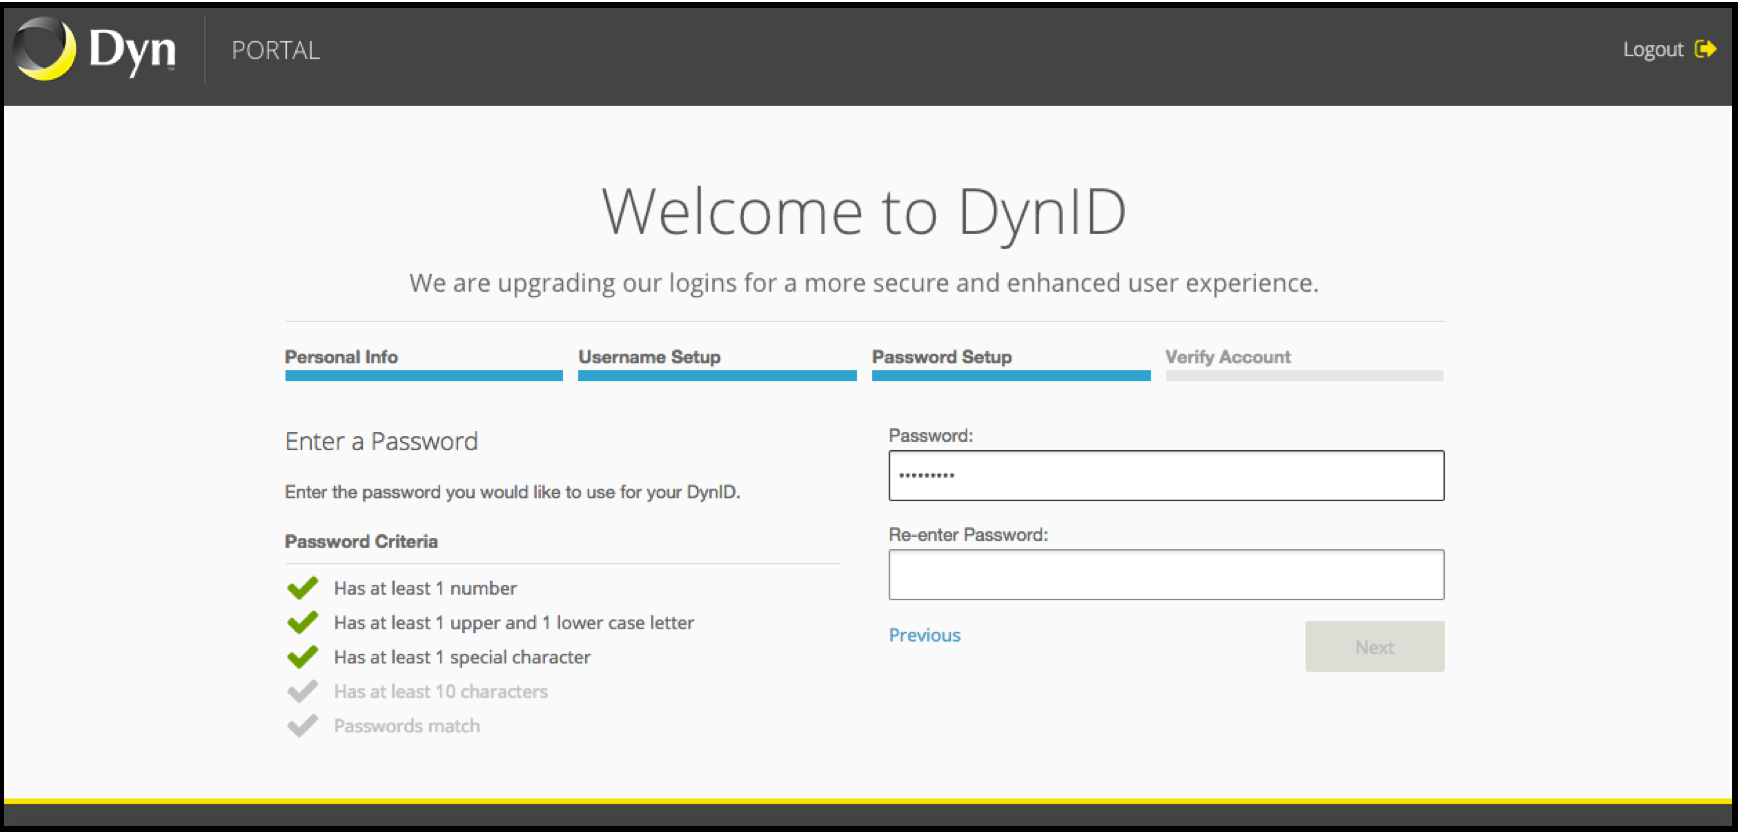 |
| 5. Check your email for the verification link. Click the link in the verification email to complete the DynID setup. |  |
| 6. Log in with your newly set up DynID and Password. | 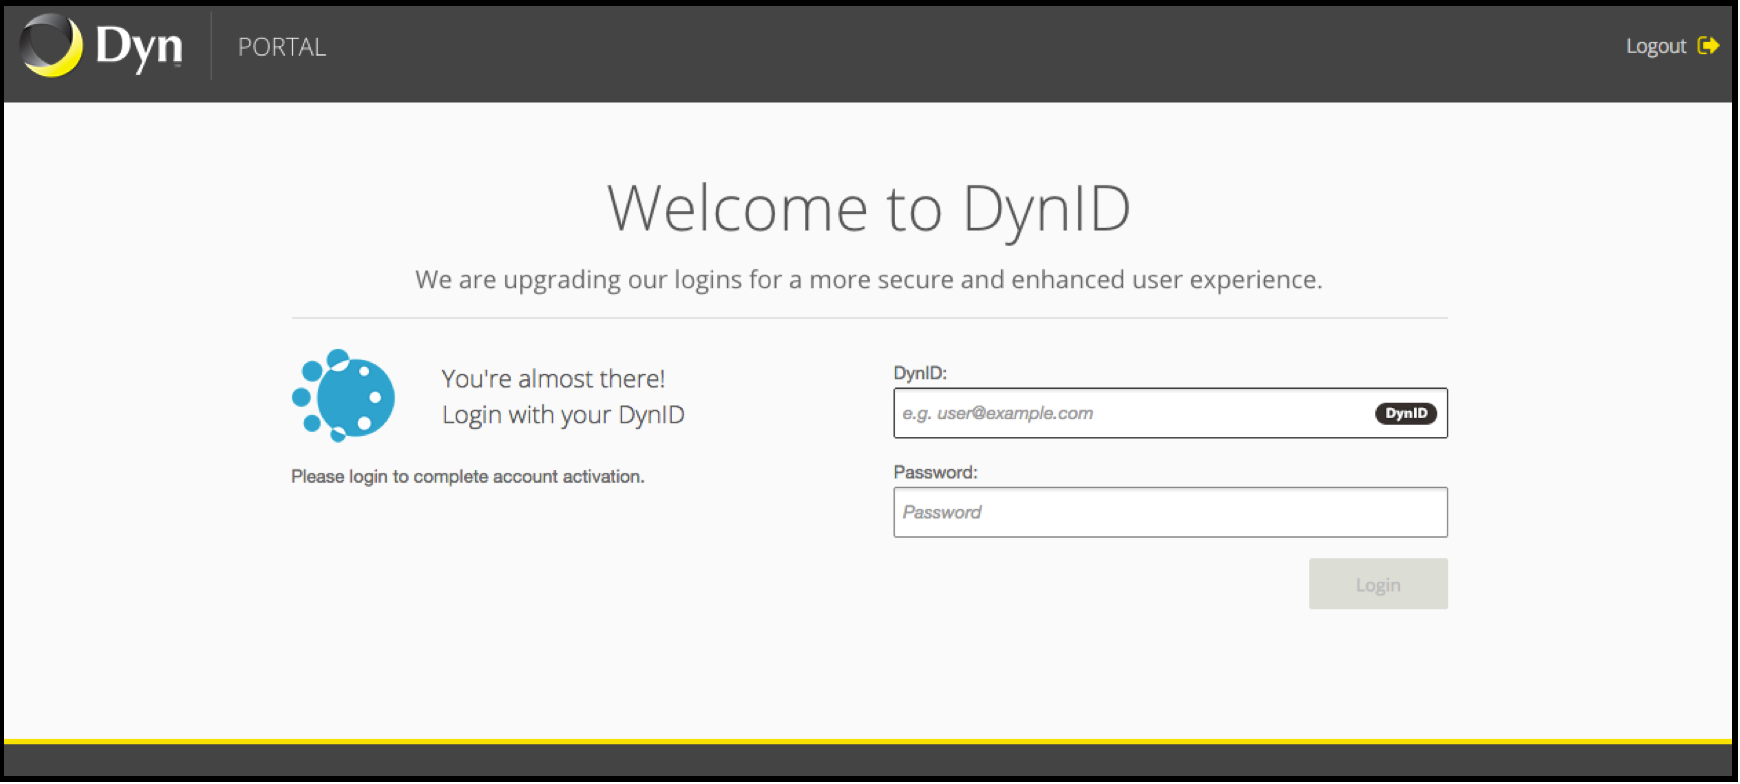 |
| The DynID dashboard is your new homepage. | 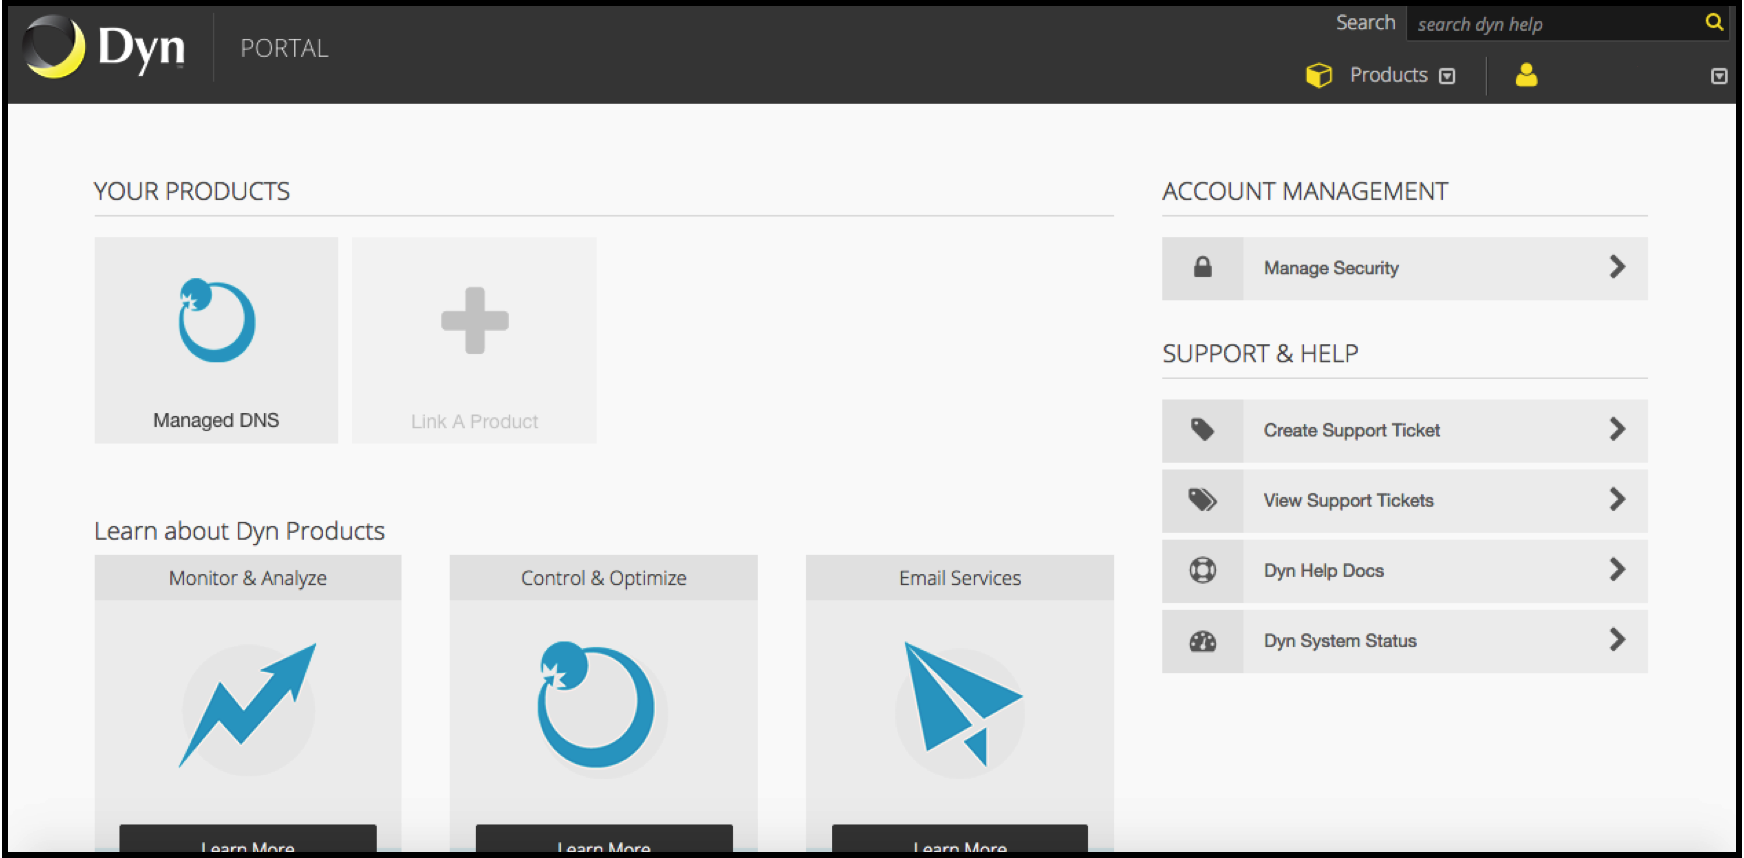 |