Click one of the following links for instructions on adding/removing/configuring Monitors for Traffic Director.
In order for monitoring to occur on your account, please make sure the IP addresses included here (https://manage.dynect.net/help/agents.html) can reach all your network endpoints. The web page requires you to log on to Dyn’s Managed DNS.
NOTE: Total number of records in a single Response Pool may not be more than 255.
WARNING: Dyn recommends setting an explicit fallback record entry in all Traffic Director services to ensure a query is always answered with a record. See TD Best Practices – Fallback Entry for more information on setting up a fall back entry.
Adding a Traffic Director (DSF) Monitor
| 1. Select Traffic Director from the Add-Ons menu. | 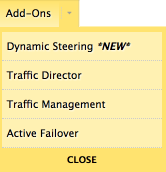 |
| 2. Find the Traffic Director service to where the Monitor will be added and click the Service Name. |  |
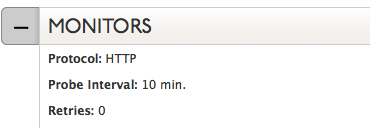
| 3. The open the Traffic Director view. Find the Monitors section of the DSF Service. | 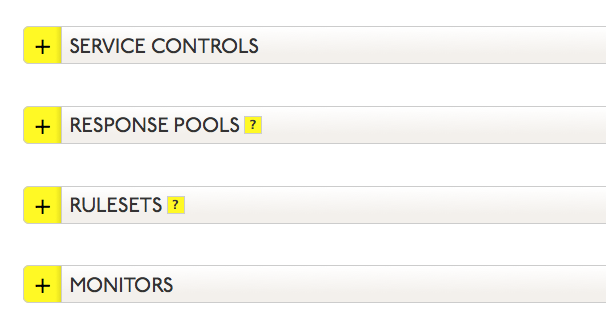 |
| 4. Click Create Monitor. | |
| 5. Complete the <New Monitor> fields. For more information see Configuring Monitors.For more information on Monitor Notifiers see Understanding Notifications. |
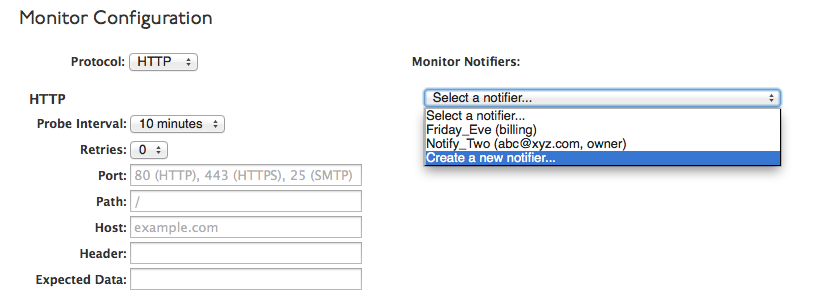 |
| These two links are at the bottom of the Monitor fields:
Probe Results: This links to the log file for probe results. For more information see Probe Results. Location Preferences: This links to the monitor location setup. For more information see Monitor Location Preferences. |
|
| 6. Select Save Monitor to complete the monitor configuration or Cancel to clear the form.
NOTE: Multiple Monitors of varying protocols and timing may be added to your configuration. Warning: The monitor must be attached to the record set before publishing. If the monitor is not attached to the record set, the monitor will be considered unused and will not appear in the Traffic Director. See Add Record Set Header.
|
|
| 7. Once the Monitor is saved, you can either Publish the changes or to Revert to the state prior to making your changes. |
Deleting Monitors
| 1. Select Traffic Director from the Add-Ons menu. | |
| 2. Find the Traffic Director service to where the Monitor exists and click the Service Name. | |
| 3. The open the Traffic Director view.Find the Monitors section of the Traffic Director Service. | |
| 4. Click the expand button |
 |
| 5. Click inside the Monitor window. Select the red X, which will appear on the far right, to delete the Monitor. | |
| 6. Once the Monitor is deleted, a blue bar will appear at the top of the screen offering you a choice to either Publish the changes or to Revert to the state prior to making your changes. |