Monitors for Traffic Director identify objects on your network to be watched for potential failure. If a failure occurs, the monitor a) notifies the designated email address with either a summary or detailed account of the failure, and/or b) updates the Traffic Director to mark associated records as ineligible for DNS responses.
In order for monitoring to occur on your account, please make sure that the IP addresses included here (https://manage.dynect.net/help/agents.html) can reach all your network endpoints. The web page requires you to log on to Dyn’s Managed DNS.
NOTE: If all fields are left at default for the HTTP, HTTPS, SMTP, or TCP protocols, the measured system will display as ‘healthy’ or ‘online’ if it returns any return code. Adding contents to the Path field will require a 200 level return code for the measured system to display as ‘healthy’ or ‘online’.
Configure the Monitor
| 1. Select Traffic Director from the Add-Ons menu. | 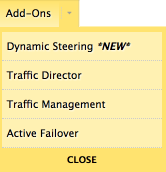 |
| 2. Find the Traffic Director service to where the Monitor will be added and click the Service Name. | 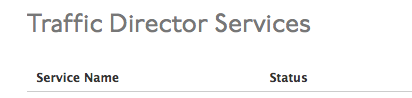 |
| 3. The open the Traffic Director view. Find the Monitors section of the Traffic Director Service. | 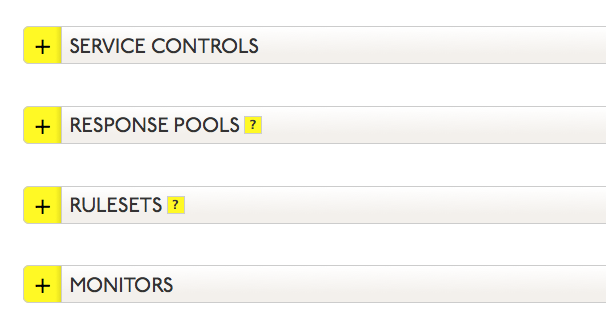 |
| 4. Click the expand button |
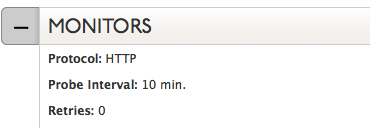 |
| 5. Click inside the Monitor window. Select the pencil icon, which will appear on the far right, to edit the Monitor Configuration. | |
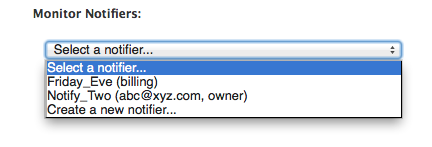
| 6. Use the following to complete or edit the Monitor fields: Click for More Info |
  |
| These two links are at the bottom of the Monitor fields:
Probe Results: This links to the log file for probe results. For more information see Probe Results. Location Preferences: This links to the monitor location setup. For more information see Monitor Location Preferences. |
|
| 7. Optional: You can click the Apply to unmonitored records checkbox to attach this monitor to any unmonitored A, AAAA, or CNAME records in your Response Pools. You can also individually attach the monitor to any record in your Response Pools at a later time. | 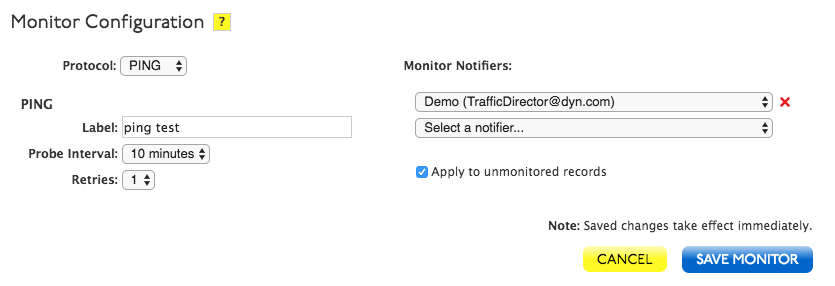 |
| 8. Select Save Monitor to complete the monitor configuration or Cancel to clear the form. | |
| 9. Once the Monitor is saved, Publish the changes or Revert to the state prior to making your changes. |