Monitors in Traffic Director determine the health of your network. You can determine which location(s) within Dyn’s network monitor your network endpoints. In order for monitoring to occur on your account, please make sure the IP addresses included here (https://manage.dynect.net/help/agents.html) can reach all your network endpoints. The web page requires you to log on to Dyn’s Managed DNS.
Note: Total number of records in a single Response Pool may not be more than 255.
Note: The selected monitoring locations are your preferred locations, but they are not guaranteed to be the only locations used to monitor your network endpoints.
Monitor Location Preferences
| 1. Click Traffic Director from the Add-Ons menu. | 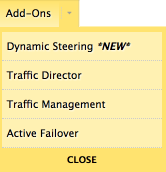 |
| 2. Find the Traffic Director service to where the Monitor Location will be updated and click the Service Name. | 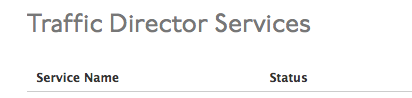 |
| 3. To open the Traffic Director view, find the Monitors section of the Traffic Director Service or the Response Pools section. | 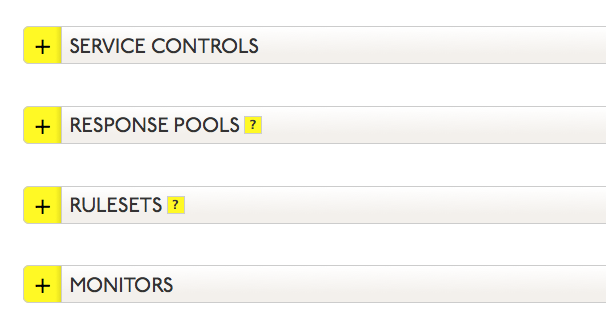 |
| 4. Click the expand button |
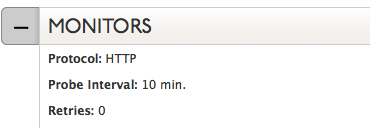 |
| 5. Click Location Preferences at the bottom of the Monitor (or Response Pool Record) field. | |
| 6. For each endpoint, determine the monitor location preference(s). | 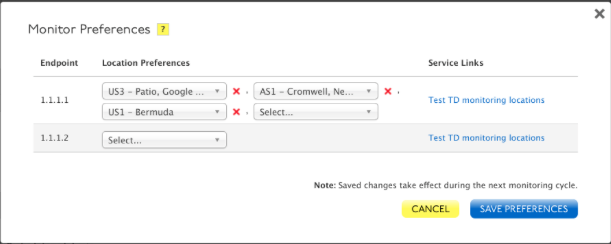 |
| 7. Select Cancel or Save Preferences to complete this task. |