DynID Portal assigns permissions to your users based on group membership inside the DynID Portal.

If a user has permissions to your products before they created a DynID, the DynID creation process gave them the same permissions within the DynID Portal for the products they previously had permission to access.

If a user already had their DynID before they were given permissions to your products, you will need to give their DynID permissions within the DynID Portal by adding the permission group to their DynID.

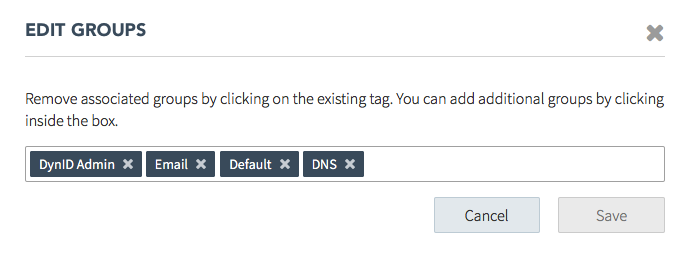
Here’s how to add (or remove) a DynID permission group:


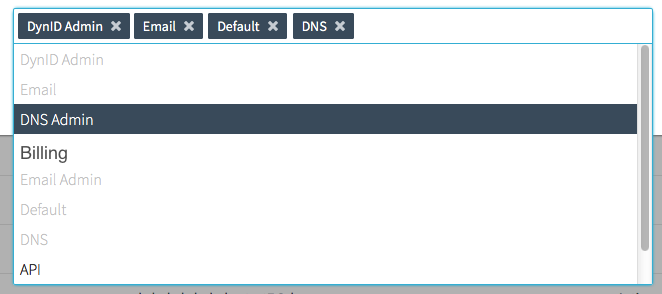
Adding or removing a DynID permissions group

Note: This must be done with a DynID that belongs to the DynID Admin permission group.
 1. Log onto your DynID account, or select Account Settings > Overview from the drop-down within a linked product. DynID Portal Overview
 2. Select Manage Account from the menu. DynID Portal Manage Account
 3. Select Company > App Users from the Account menu. DynID Portal Account Menu
 4. In the App Users list, select the account where you want to add or remove group membership. DynID Portal App Users
 5. View the user account in the right panel and select Edit in the Groups section to edit group membership.
DynID Portal User Account
 6. Click inside the box to add groups.

To remove a permission group, click the X next to the name of the group to remove.

DynID Portal Edit Groups
 7. To add a group permission, click on the group name in the drop-down list.  In this example, DNS Admin is clicked to be added.

Click for More Information about DynID Permissions Groups.


DynID Portal Group Permissions
 8. Click Save to commit your changes. Save Button