Dyn’s secondary DNS allows you to sync read-only copies of your zones from another DNS provider to Dyn servers via an AXFR or IXFR transfer. This will give you the ability to failover to Dyn’s servers if your primary provider becomes unavailable.
Follow these steps to add or update a secondary DNS zone.
Add A Secondary Zone
| 1. From the Zones tab, click Add Zone. | |
| 2. Enter your Zone Name and then select Secondary from the Zone Type menu. | 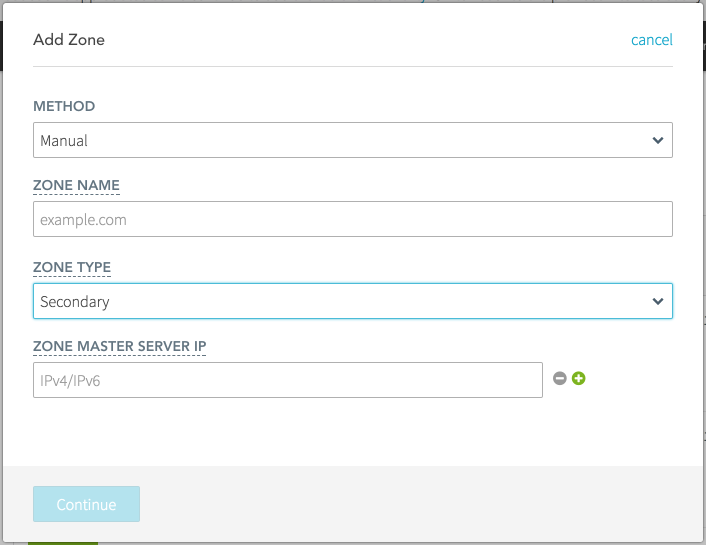 |
| 3. Enter your Zone Master Server IP address, then click Continue. Your zone will begin to transfer. You can add more than one Master Server by clicking the “+“. | 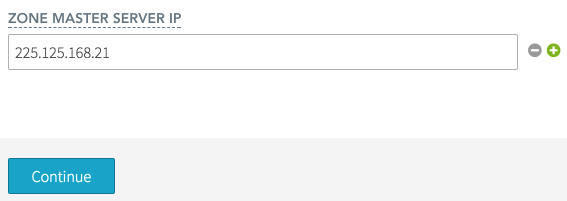 |
Note: You will need to whitelist the following Dyn IP addresses with your primary DNS provider: 204.13.249.65, 208.78.68.65, 2600:2001:0:1::65, 2600:2003:0:1::65 This will allow your Primary DNS servers to accept AXFR or IXFR transfer queries from Dyn’s servers.
Update A Secondary DNS Zone
| 1. From the Zones tab, click the the Actions icon (…) for the secondary zone where you want to make changes. Use the Sort By list to sort zones names alphanumerically in ascending or descending order. |  |
| 2. Click Manage Master Servers. The Master Server IP list for the secondary zone is displayed. | |
| 3. Click the Actions icon (…) for the IP address of the master server you want to update. | 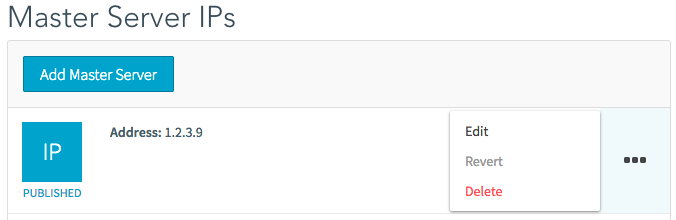 |
| 4. Click Edit. | |
| 5. Change the IP address in the Edit Master Server IP dialog. | 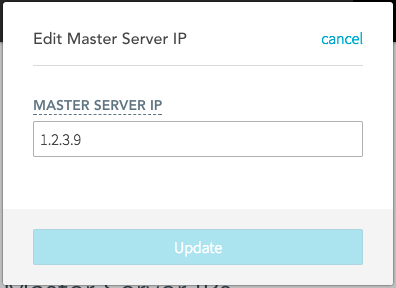 |
| 6. Click Update and then Publish Changes. |
Note: You will need to whitelist the following Dyn IP addresses with your primary DNS provider: 204.13.249.65, 208.78.68.65, 2600:2001:0:1::65, 2600:2003:0:1::65 This will allow your Primary DNS servers to accept AXFR or IXFR transfer queries from Dyn’s servers.