If you have recently purchased a domain and hosting, you can use this guide to learn how to set up the basic DNS records you will need to manage your website's DNS.
Common DNS Records
A - An A record, short for address record, maps from an IP address to a domain name. An A record is also referred to as a host or hostname.
CNAME - A CNAME is a special type of DNS record used to create an alias from one hostname to another. For example, if we say "www.yourdomain.com is a CNAME to yourdomain.com" that means that someone accessing www.yourdomain.com will be pointed to the same IP address that yourdomain.com points to. This is useful so that when your IP address changes, you only have to update yourdomain.com's entry, and www.yourdomain.com automatically points to the right place.
MX - A Mail eXchanger is a type of DNS record that allows you to control the delivery of mail for a given domain or subdomain. In our context, MX records can be set on a host-by-host basis to point to other hosts on the Internet (usually with permanent connections) that are set up to accept and/or route mail for your hostname(s). Setting a backup MX makes the entry you specify a secondary mail exchanger. This means that delivery will be attempted to your host first, and then to the backup host you specify if that fails.
TXT - TXT records are used to store information. Common uses include SPF, DKIM, etc.
Setting Up an A Record for Your Server
If you are hosting your own server or have a cloud server, you will need an A record pointed at the server's IP address.
| 1. In your Dyn Standard DNS account, go to My Zones/Domains. | 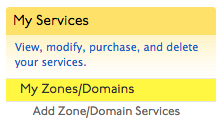 |
| 2. Click Dyn Standard DNS Service beside the domain you would like to manage. |  |
| 3. In the Add DNS Record section, select A from the TYPE dropdown menu and paste your server's IP address into the DATA field. |  |
| 4. Click Create Record. Note: Allow 24 hours to propagate around the internet. |  |
Setting Up A CNAME Record
Many hosting providers, like Squarespace or GoDaddy, do not provide a static IP address for your website. Instead, you will be provided information to create CNAME records that will direct users to your website via your domain.
| 1. In your Dyn Standard DNS account, go to My Zones/Domains. | |
| 2. Click Dyn Standard DNS Service beside the domain you would like to manage. | 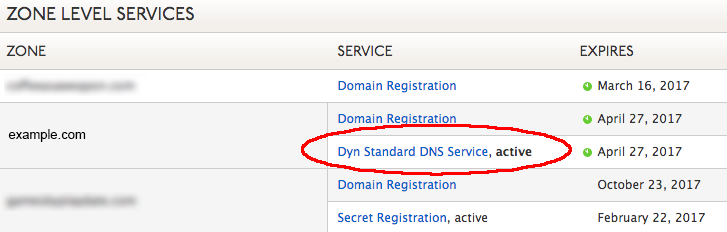 |
| 3. In the Add DNS Record section, select CNAME from the TYPE drop-down menu, then paste the CNAME information, as provided by your hosting provider, into the HOST and DATA fields. Note: Hosting providers will provide you with a hostname to create your CNAME, (e.g., www.example.com or zw543x4796prf.example.com). It is important to enter only the node (sub-domain) part of the hostname into the HOST field. EXAMPLE: If Squarespace provided you with the hostname zw543x4796prf.example.com for your CNAME record, only enter the zw543x4796prf" part into the HOST field. |  |
| 4. Click Create Record. | |
Setting Up Your Domain's Email Address Using Gmail
If you are setting up your domain's email address using Gmail, you must add several records to validate your domain's email address with Gmail.
| 1. In your Dyn Standard DNS account, go to My Zones/Domains. | | ||||||||||||||||||||||||
| 2. Click Dyn Standard DNS Service beside the domain you want to manage. | | ||||||||||||||||||||||||
3. In the Add DNS Record section, add the following records as shown below.
|  | ||||||||||||||||||||||||
| 4. Test your email by sending to and from it. | |||||||||||||||||||||||||
Setting Up Your Domain's Email Address Using Office 365
If you are setting up your domain's email address using Office 365, you will need to add several records to validate your domain's email address with Microsoft. Reference Microsoft's documentation to see how this is done.