| Links on this page | |
| Connecting to Dyn's Identity Management System | |
| Supported Identity Providers |
Connecting to Dyn's Identity Management System
There are three distinct sections to setting up your account with single sign-on.
1. You follow the steps for your Identity Provider to set up your account, shown below. 2. Your Identity Provider gives your required information for you to provide to Dyn, shown in the instructions below. 3. Dyn will set up your Identity Provider account on our system.
Supported Identity Providers
OktaDuo Security | |
Connecting to Dyn's Identity Management System: Okta
| 1. Open your Okta site and click Add Application. | 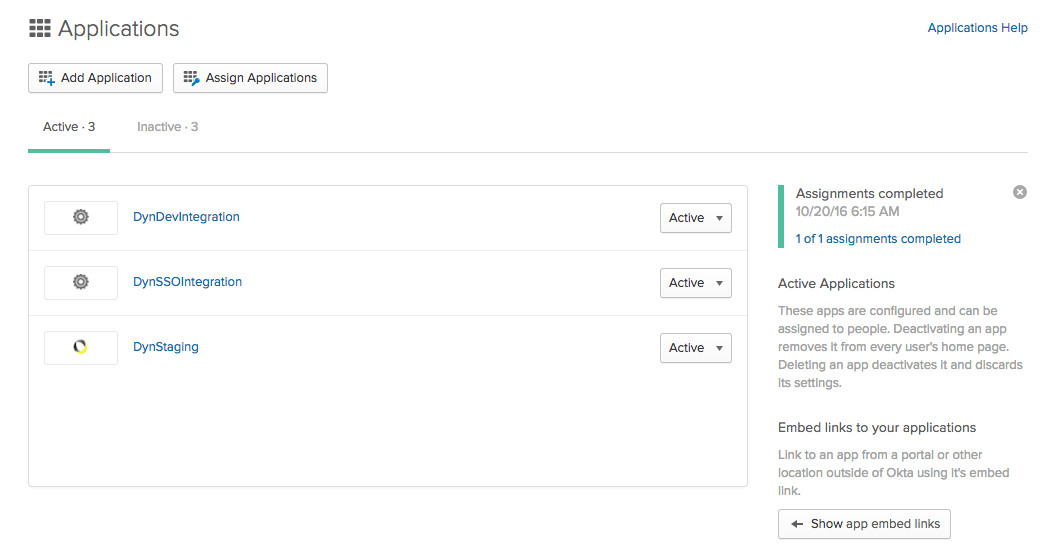 |
| 2. Click the Create New App. | 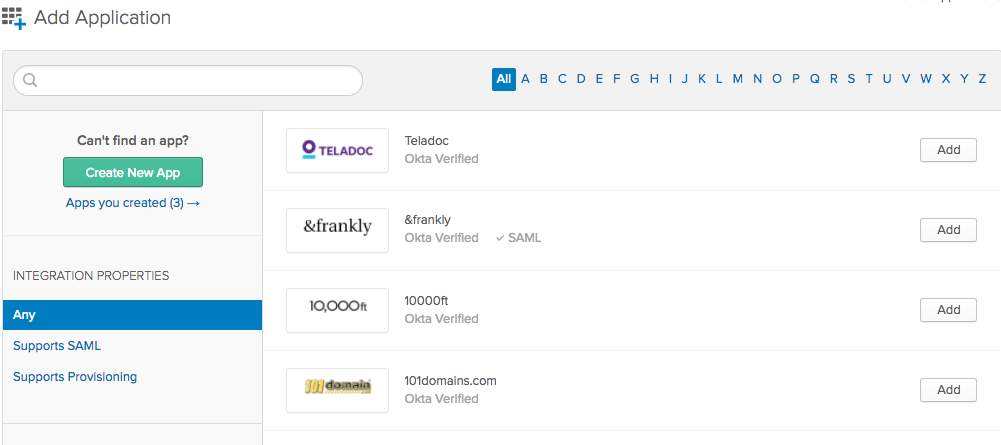 |
| 3. On the Create a New Application Integration view, select SAML 2.0 | 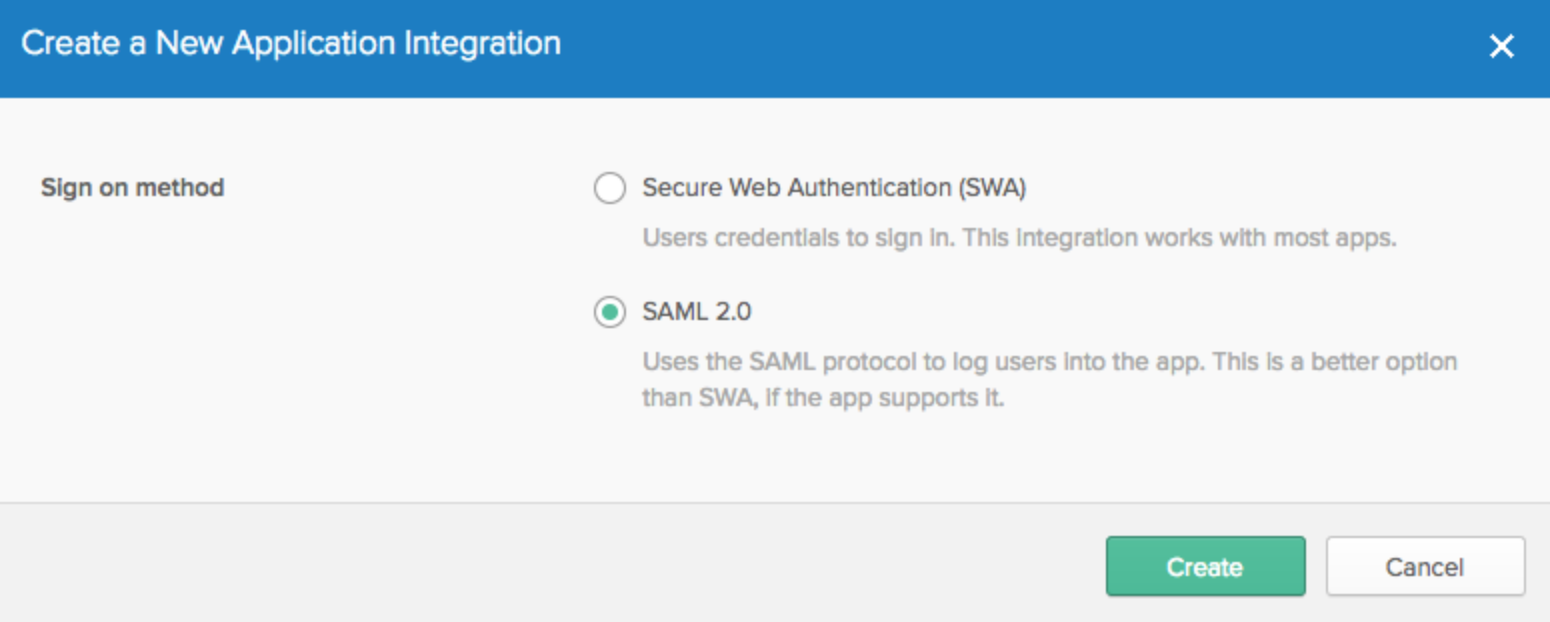 |
| 4. Define the app name. Upload the Dyn logo, if desired. | 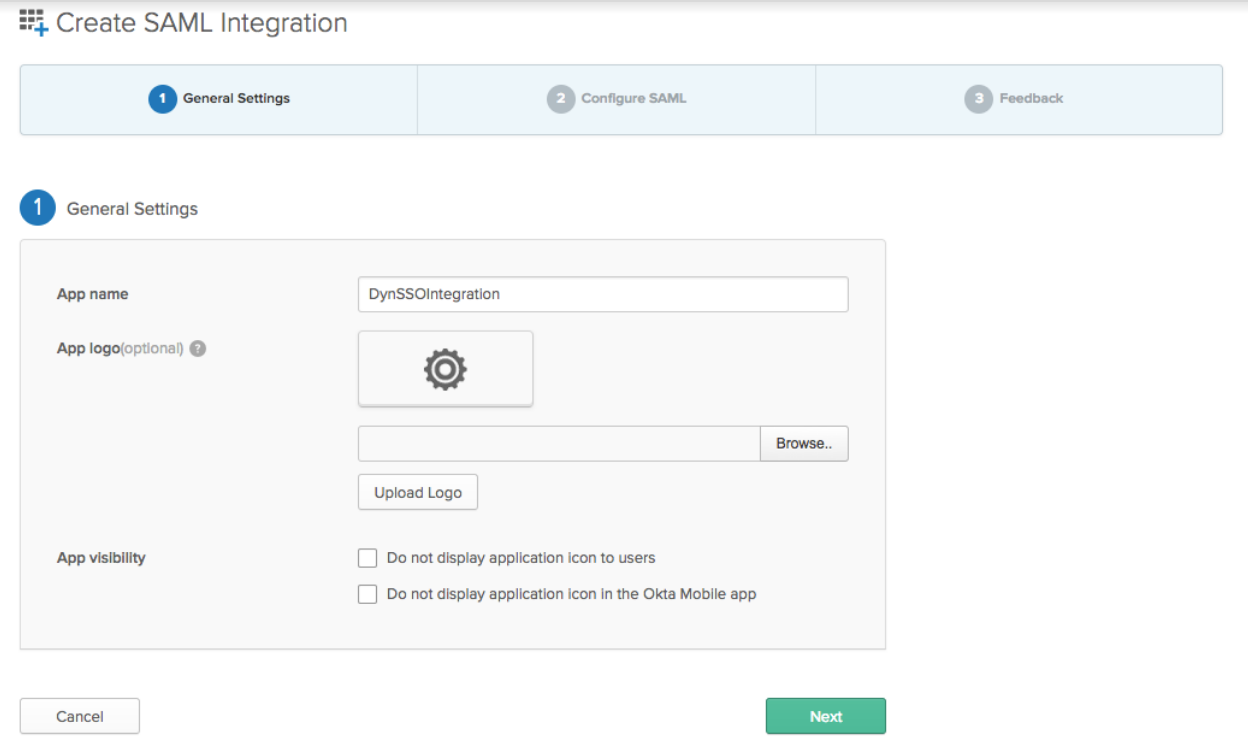 |
5. Dyn will provide the content for these fields:
| 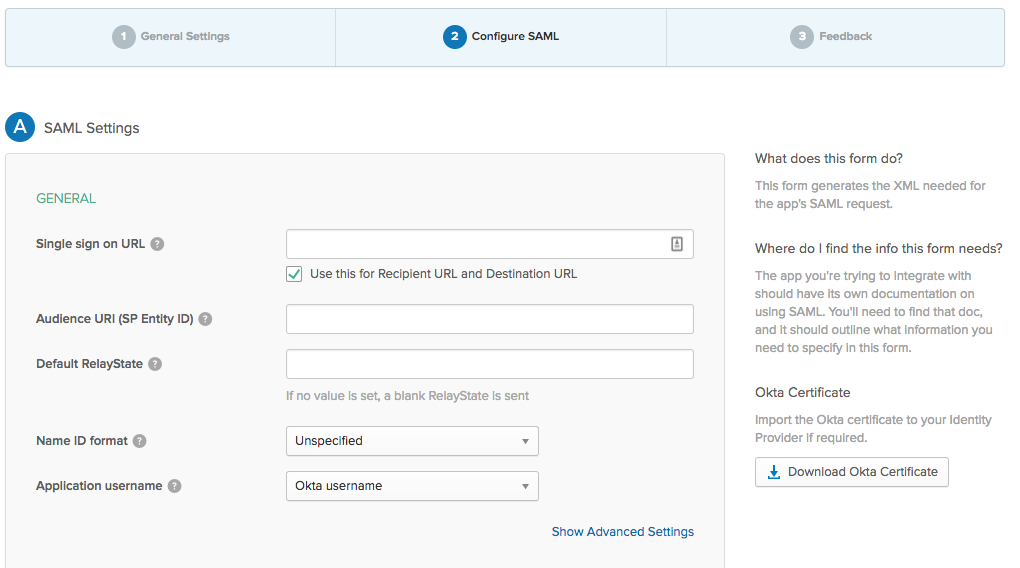 |
| 6. Add an attribute statement on the General Settings page as shown.Name: emailName format: UnspecifiedValue: user.email | 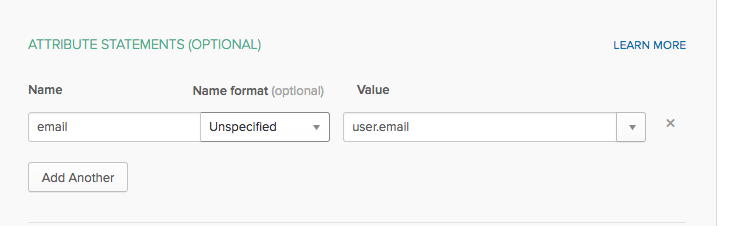 |
| 7. Click the Download Okta Certificate on the right-hand side.Provide this information to Dyn support when setting up the integration. | 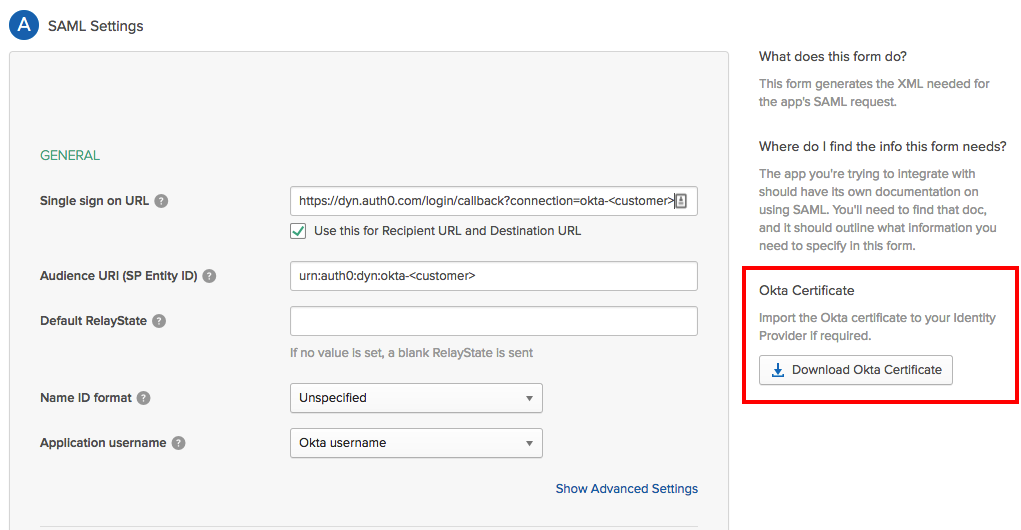 |
| 8. On the feedback page, click "I'm an Okta customer adding an internal app".Click Finish. | |
| 9. Click View Setup Instructions to retrieve the information required for Dyn to enable your connection. | 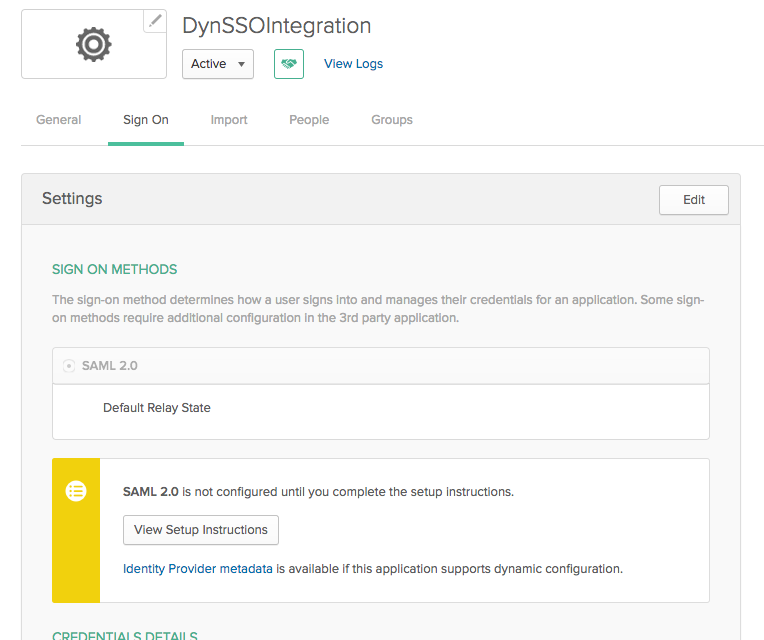 |
| 10. The information required for Dyn to enable your connection will look similar to the example. | 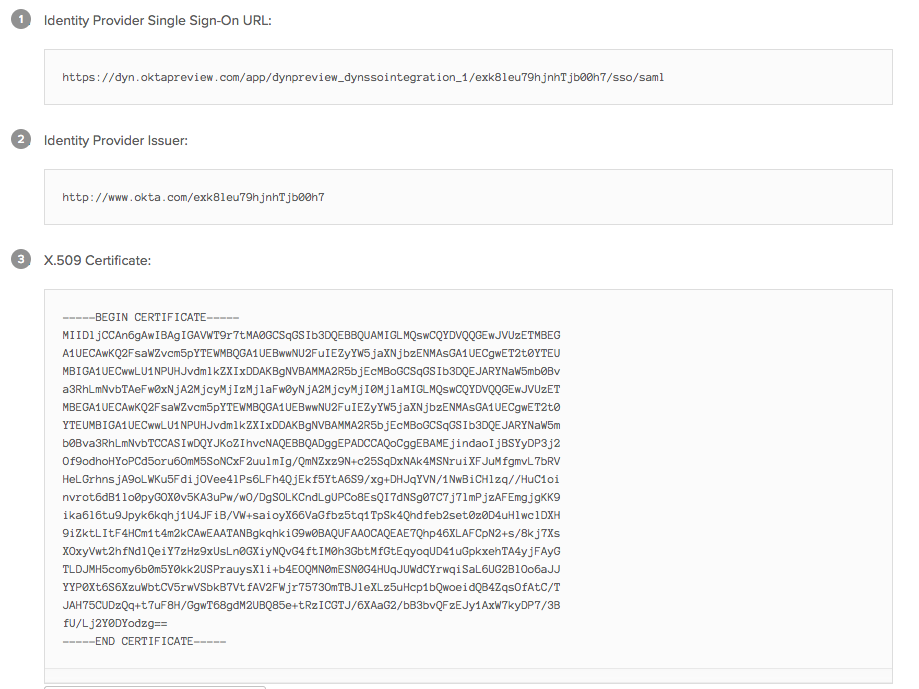 |
Duo Security
Download the SSL certificate to provide Dyn
In order to set up Duo with Dyn, you will need to retrieve you server's SSL certificate and provide it to Dyn.
| 1. Log into your Duo Access Security Console. | |
| 2. Click Applications. | 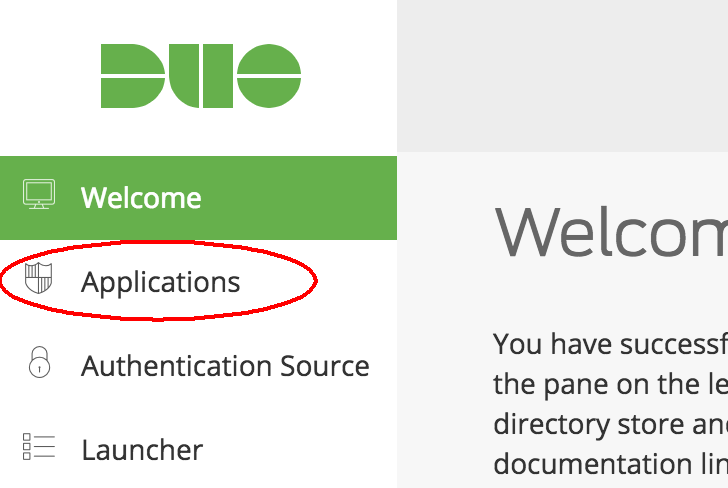 |
| 3. In the Metadata section at the bottom of the page, click Download certificate. |  |
| 4. Contact Dyn and provide them with the certificate to set up the necessary credentials to link Duo to your Dyn account. |
How to Integrate Duo Security with Dyn
| 1. Log into your Duo account at Duo.com and select Applications from the side-menu. | 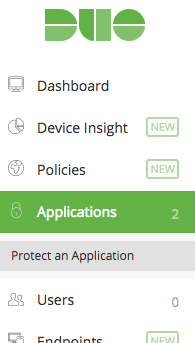 | |||||||||
| 2. Click Protect an Application and select SAML - Service Provider from the list of applications. This will allow you to set up SAML for a generic application. | 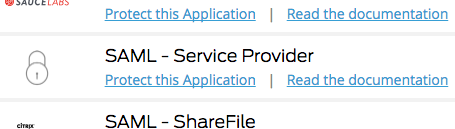 | |||||||||
| 4. Enter "Dyn" as the Service provider name. | 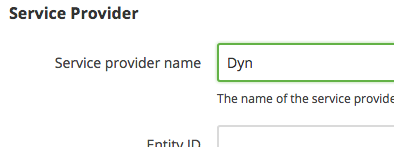 | |||||||||
| 5. Contact Dyn for your Entity ID and Assertion Consumer Service URL. Reference the table below on how to format each element. Note: Your company name should be lowercase within the Entity ID and Assertion Consumer Service URL. | 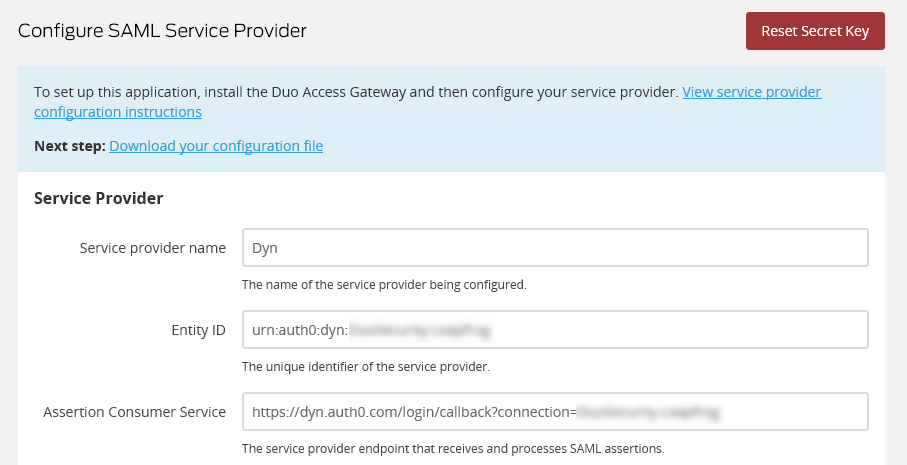 | |||||||||
|
| 6. In the IdP Attribute field, type in mail. In the SAML Response Attribute field type in email. | 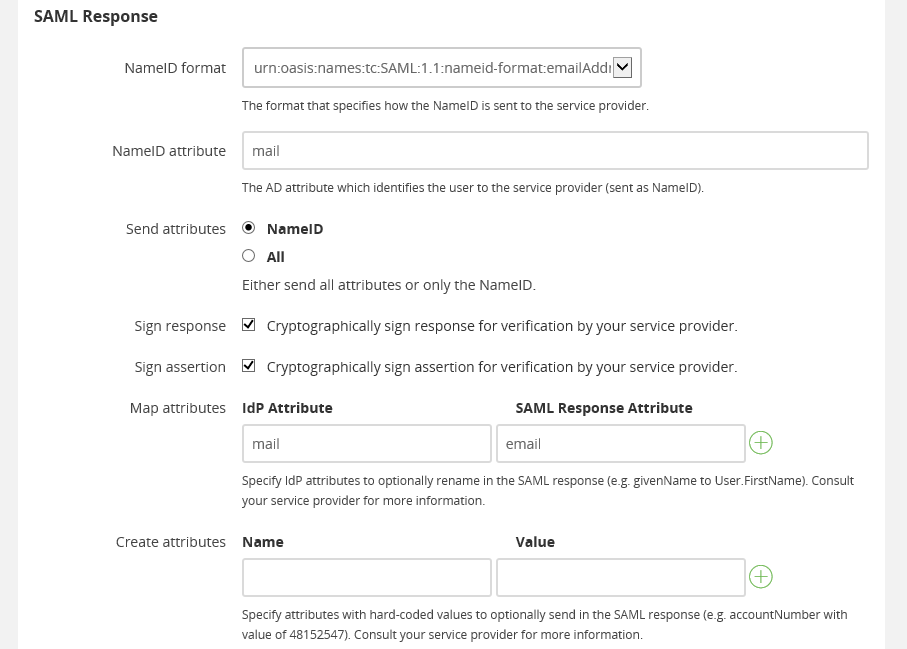 | |||||||||
| 7. Click Save Configuration. | ||||||||||
| 8. Once your configuration has been saved, download the JSON configuration file in the Next step prompt. | 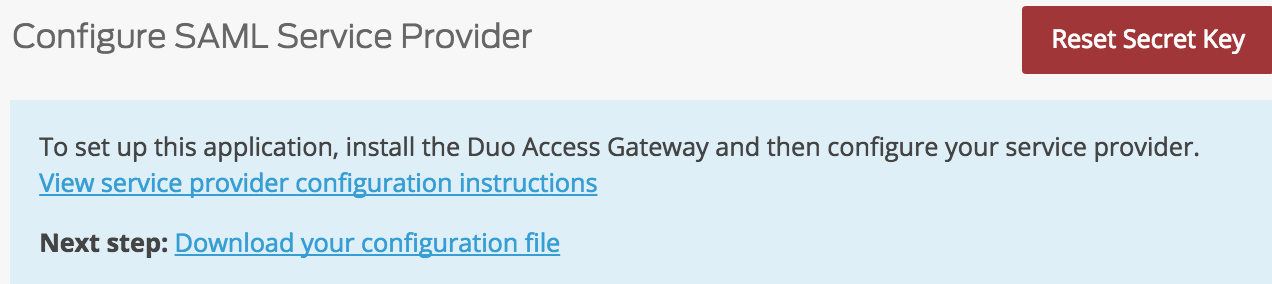 | |||||||||
| 9. In the Duo Access Security Console on your server, click on Applications. In thex Configuration field, browse for the JSON configuration file you downloaded in the prior step, then click Upload. | 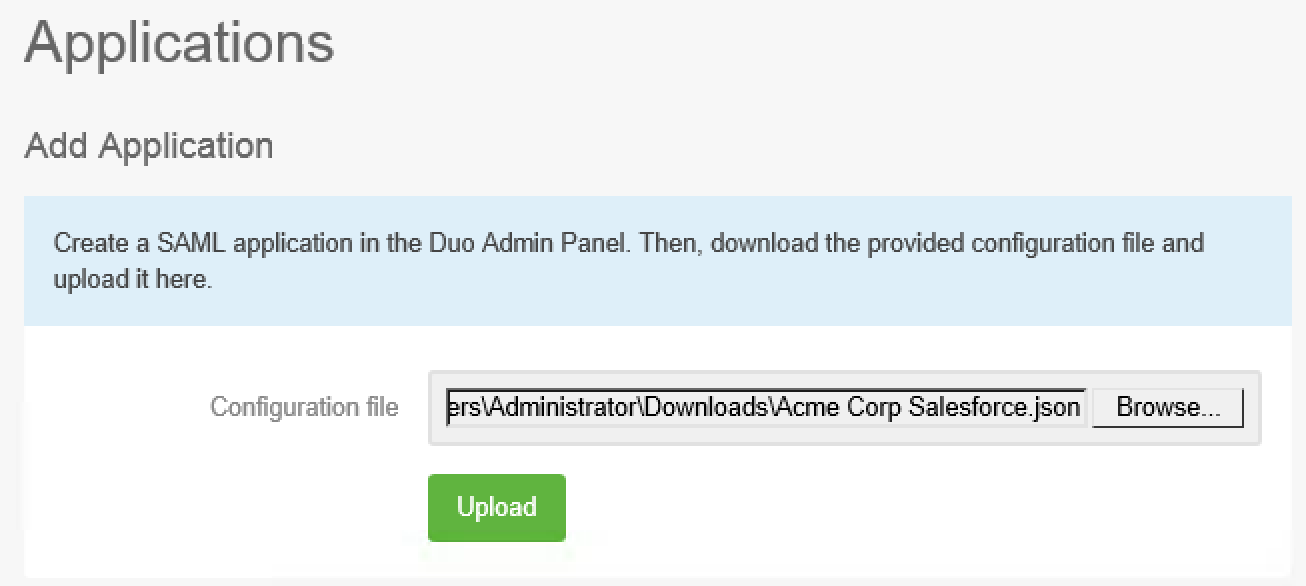 | |||||||||