Watch this video or follow the instructions below to learn how to install and set up the Dyn Dynamic DNS Update Client.
Before you begin, you will need to:
Download the Dyn Update Client for Mac OS X 10.4-10.6
Installation and Configuration
Note: Before installing the Dyn Updater, make sure ALL previous dynamic DNS update clients have been uninstalled from your computer.
| 1. In your Dynamic DNS account, go to Account Settings and locate your Updater Client Key. If the Updater Client Key field is blank, click Generate Key. Note: Generating a new Updater Key will override the password on any other existing DDNS update clients attached to your account. This means that you will have to distribute the new key to any existing update client linked to your Dynamic DNS account. Note: If you are setting up DDNS for Managed DNS, visit our Managed DDNS guide. | 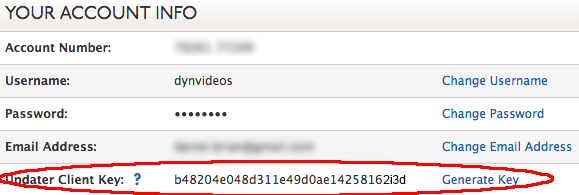 |
| 2. Locate the file dyndns-setup-mac.dmg on your computer and double click the icon. A new Finder window will open, drag the Dyn Updater application into your Applications folder. | 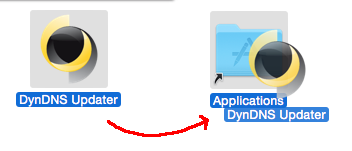 |
| 3. Open the Dyn Update Client and enter your Dyn account username and use the Updater Client Key as your password. Then click OK. Your hosts should populate the left panel. | 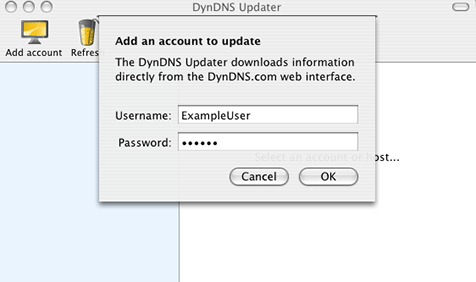 |
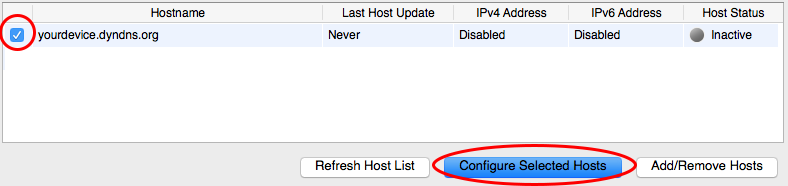
| 4. Click the host you would like the client to update and select Enable updating for this host. If successful, the sphere beside the host should turn green. | 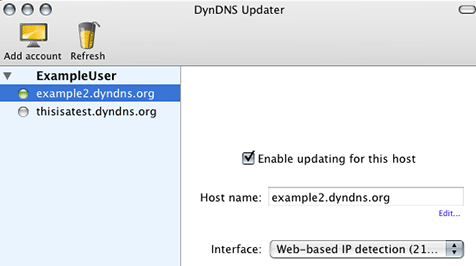 |
Note: If you are using a proxy server, you will need to bypass it by selecting the Web-based IP Detection (Bypassing proxy) option under the Interface drop-down menu. |
Status
Green - (Normal) Your hosts are up-to-date. Orange - (Warning) The Dyn Updater requires your attention. Common reasons for receiving a Warning message include:
- The Updater has submitted the same IP address multiple times within a period of 2 days. To reduce load, Dyn requests that you only update your hostnames if their IP addresses change. If you see multiple Warning messages in your Logs, you should determine the problem immediately, otherwise your account may be blocked due to abuse.
- Running multiple update clients on one computer, such as version 3.0 and version 4.0 simultaneously.
- Running multiple update clients on the same network, such as dynamic DNS software on your router, and an update client on your computer.
- Fresh installation of the Dyn Updater, where all your hosts were already up-to-date.
Red - (Critical) The Dyn Updater has received an unrecoverable error. Some causes for a Critical status are:
- Invalid account information (username or password is incorrect).
- Invalid query sent to Dyn, Check your Internet connection to make sure data is being transmitted correctly.
- Your account has been blocked due to abuse.
Once you have corrected the source of the critical error, you may click on View Details followed by Retry update to reset the Updater.
General Options
Once you have enabled all the hosts you want the client to update and set the hosts options, you need to configure the rest of its options. If you open the Dyn Updater bar and select Preferences, you can continue with the configuration.
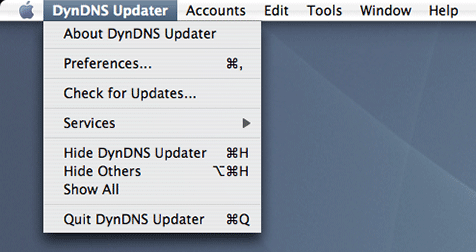
Figure 7: The opened Dyn Updater bar.
The first section you will see is the General options.
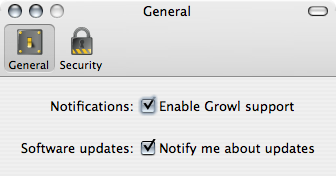
Figure 8: The General options preferences.
The first option enables or disables Growl support. Growl is a way to display popup notifications in an non-obtrusive way. If you do not have Growl installed then the option will be grayed out. If you do have Growl installed and you enable the Growl support, growl will display a notification when your IP has updated.
If you wish to install growl, which is a third-party application, you can visit https://growl.github.io/growl/ to download it.
The second option is "Software Updates", which will notify you automatically when the update client has a newer version released so that you can make sure you use the latest version.
Security Options
The second section you can view is the Security section.
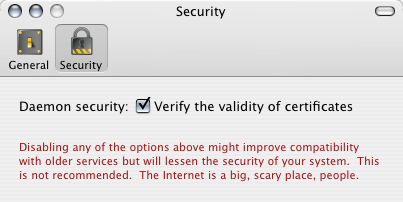
Figure 9: The Security options preferences.
In this section you have the ability to turn off certificate validation. We recommend keeping this option enabled at all times as it will make sure that the SSL certificates used are valid for updates we publish, which helps keep your machine protected over the internet.
Post Configuration - Accounts
After you configure the client, there are two other useful menu options. The first is the Accounts options.

Figure 10: The Accounts options menu.
The first option is Add Account, which allows you to add additional accounts to the update client's configuration, in case you have several accounts with us that have hosts you wish to update at the same time.
Below that is the Remove Account option, which is selectable only if you have an account selected in the host list.
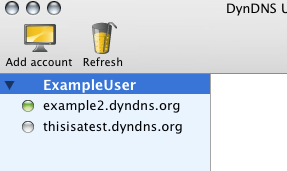
Figure 11: Example User is selected in the host list in this example.
The next option is Refresh Account Hosts. You only need to use this option if you have added hosts to your account so that the client is aware of the changes.
Post Configuration - Logging, and Diagnostics
In the menubar you can also select the Tools menu, which allows for several diagnostic options.
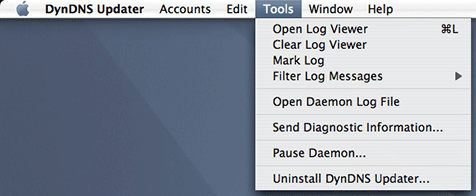
Figure 12: The Tools menu.
The first choice is Open Log Viewer. This option will allow you to open and view the update client log to check on the client status.
Next is Clear Log Viewer, which will clear out the log viewer so you only see new information displayed.
The Mark Log option allows you to insert a tag into the log so that you can sectionalize the log in order to view new data as well as retaining the old data, unlike the Clear Log Viewer option.
The Filter Log Messages option allows you to select what information you want displayed and to hide the rest.
Using Open Daemon Log File will open the system log of the running daemon to view the status at an operating system level, instead of just the update client log itself.
Send Diagnostic Information will let you send an email to Dyn's support staff including your logs so they can see what is happening for you. Please be sure to also include information about the trouble with the client you are having.
Pause Daemon will cause the update client to pause and not send updates until you unpause it.
Post Configuration - Uninstallation
If you want to remove the client from your system, you can use the Uninstall Dyn Updater option to do just that.
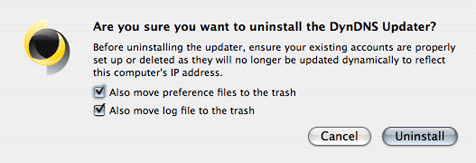
Figure 13: The Dyn Updater uninstall dialog.