Enjoy the redundancy of our top-level DNS servers with a diverse blend of Tier 1 bandwidth networks across four locations in Asia, North America, and Europe.
How Does Dyn Secondary DNS Work?
Dyn Secondary DNS provides an option for those who may host their own DNS internally, or at another managed services provider, to leverage Dyn’s unicast DNS network (same as Standard DNS) as a backup. Your primary DNS server will send us a notification when the zone information has changed (eg., adding a new record, modifying a record, etc.) in the form of a whole new zone file, and our local copy of the zone will then reflect the newest update. In the less than ideal situation where your primary DNS is unreachable, having Dyn Secondary DNS will ensure that your site is still available.
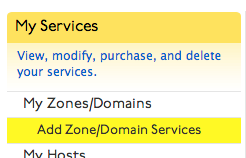
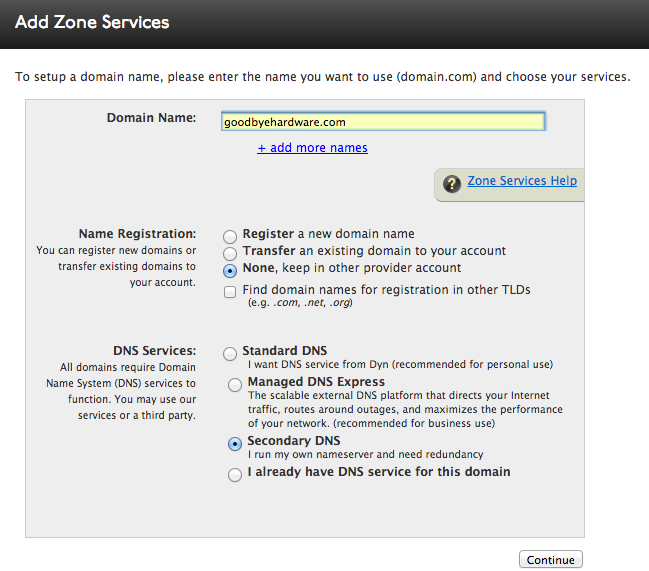
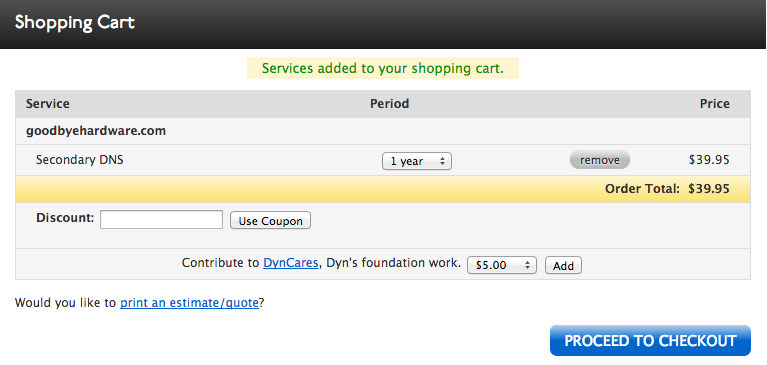
Creating Secondary DNS
Standard DNS/Secondary DNS Conversion
As your needs grow and change, you may find that you need to move from one of our DNS services to the other. Since Dyn Standard DNS and Secondary DNS use the same set of nameservers, it is relatively easy to switch between services; however, there is more than one way to do it.
Typically, you have two options: a painless changeover that can take a few days, but loses no queries, or a rapid changeover that can be completed in 10 to 20 minutes in exchange for 10 to 20 minutes of downtime. The instructions for both types of transitions can be found below.
“I can’t afford downtime!” – Lossless Transition
Dyn Standard DNS to Secondary DNS
-
- Submit a delegation change to remove our nsx.mydyndns.org or nsxxxx.dns.dyn.com nameservers and replace them with your own primary nameserver.
- Wait four days. This will ensure no queries are coming to our nameservers for your domain.
- Cancel the Dyn Standard DNS zone through the zone’s configuration page.
- Create a new Secondary DNS zone for your domain.
- On the Preferences page for your Secondary DNS zone, click Force Activation. This will force our servers to transfer the zone file from your primary nameserver.
- Wait 10 to 20 minutes for the preactivation to take effect. (You can test our servers using dig queries for your domain’s SOA to verify that they are answering.)
- Add our secondary nameservers to your domain’s delegation, which you can find by visiting the Zone Level Services page. Then scroll to the bottom of the page for Your Account’s Nameservers.
- Whitelist the following IP addresses to allow transfers and sending notifies:
- 147.154.108.185
- 147.154.111.143
- 130.35.2.126
Secondary DNS to Dyn Standard DNS
-
- Submit a delegation change to remove our nsx.mydyndns.org or nsxxxx.dns.dyn.com nameservers from your domain, leaving only your primary nameserver.
- Wait four days. This will ensure no queries are coming to our nameservers for your domain.
- Cancel the Secondary DNS zone for your domain through the zone’s configuration page.
- Create a new Dyn Standard DNS zone for your domain. Configure the zone.
- On the Preferences page of your Dyn Standard DNS zone, click Force Activation. This will force our servers to load your zone file prior to delegation.
- Wait 10 to 20 minutes for the preactivation to take effect. (You can test our servers using dig queries for your domain’s SOA to verify that they are answering.)
- Add our nameservers to your domain’s delegation, which you can find by visiting the Zone Level Services page. Scroll to the bottom of the page for Your Account’s Nameservers. Then remove your primary nameserver from the list. (Ensure that your primary nameserver is still answering for up to four days after the change to ensure it still answers cached queries.)
“Downtime isn’t important; I don’t want to wait.” – Rapid Transition
Dyn Standard DNS to Secondary DNS
-
- Submit a delegation change to remove nsx.mydyndns.org or nsxxxx.dns.dyn.com and replace it with your primary nameserver.
- Cancel your Dyn Standard DNS zone through the zone’s configuration page.
- Create a Secondary DNS zone for your domain.
- Whitelist the following IP addresses to allow transfers and sending notifies:
- 147.154.108.185
- 147.154.111.143
- 130.35.2.126
Secondary DNS to Dyn Standard DNS
-
- Submit a delegation change to add nsx.mydyndns.org or nsxxxx.dns.dyn.com to your domain, and remove your primary nameserver from the list.
- Cancel your Secondary DNS zone through the zone’s configuration page.
- Create a Dyn Standard DNS zone for your domain.
Note: You should replace the x‘s shown above with the actual server numbers listed on the Zone level Services page of your account.


