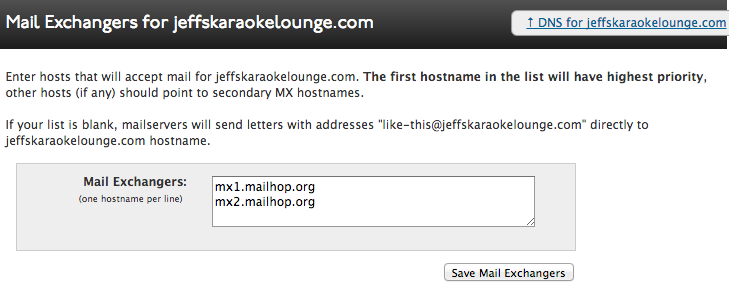
Dyn Standard DNS provides two separate interfaces for adding DNS records: the Standard interface, which provides support for basic record types such as A, CNAME, MX and TXT records, and the Expert interface, which includes support for additional record types such as PTR, NS, SRV, and more.
Switching Interfaces
You can switch between the Standard and Expert interfaces at any time using the Preferences button in the upper right of the page when viewing a Dyn Standard DNS zone. This setting is stored on a per zone basis, so some zones can be in the Standard interface and others can be in the Expert interface. No data is lost when switching between interfaces, but you cannot add, modify or delete records other than A, CNAME, MX, and TXT in the Standard interface.
Adding Records in the Standard Interface
| 1. Log into your Dyn account and locate the My Services option. | |
| 2. Locate the Zone you wish to add a record to, and click Dyn Standard DNS Service to the right of the zone’s name. | |
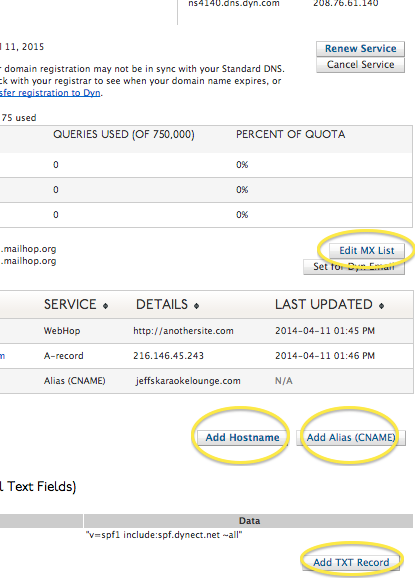
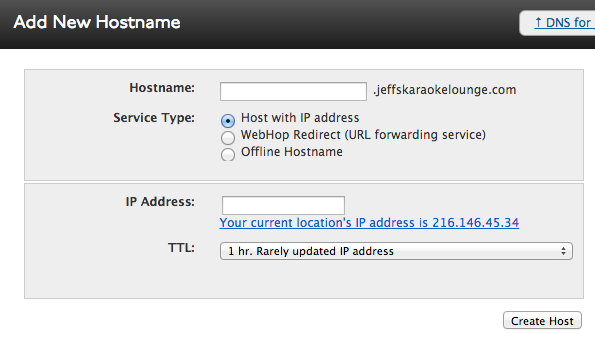
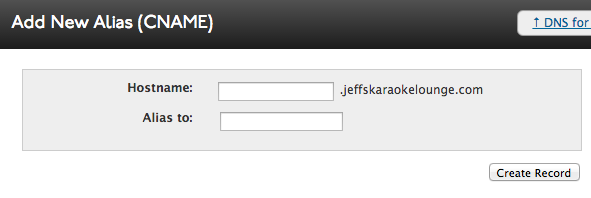
3. The four record types that are available in the Standard interface are A, CNAME, TXT and MX. Each has their own button assigned to their respective record type.
|
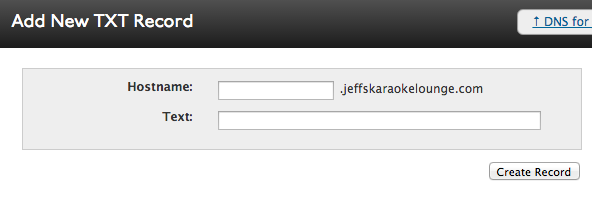
|
| Changes to your Dyn Standard DNS zone will be committed when you complete any of the aforementioned tasks. Your new record will appear shortly across the Internet. |
Adding Records in the Expert Interface
| 1. Log into your Dyn account and find the My Services option. | |
| 2. Find the Zone you wish to add a record to, and click on Dyn Standard DNS Service next to the zone’s name. | |
3. Scroll to the bottom of the zone information screen to access the Add DNS Record field. Fill out the respective fields for the record you are creating.
Note: RFC 1034 prevents CNAME records from being created at the apex of a zone. If you need to set a Fully Qualified Domain Name (FQDN) at the apex of the zone, you will need to use a Webhop record to redirect over HTTP.
Creating MX records? You’ll need to make sure that you set the priority as well as the FQDN of the mail server, and append it with a period. For example:
10 ASPMX.GOOGLE.COM. |

|
| 4. Click Create Record. Changes to your Dyn Standard DNS zone will be committed when you click the Create Record button. Your new record will show up shortly across the Internet. |

