To properly route messages, Microsoft Lync requires you to set up two SRV records within your DNS configuration. Follow these steps to create the necessary SRV records.
NOTE: This guide is for a standard setup of Lync. For more complex setups, please reference Microsoft’s documentation or contact tech support.
| 1. Log in to your Managed DNS account. | |
| 2. Select Manage beside the domain you wish add the records. | |
| 3. In the Add a New Node field, create a new node called “_tls” and click Add Node. | 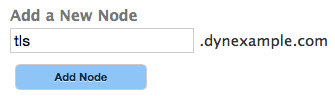 |
| 4. Within the new node, create another node called “_sip”. | 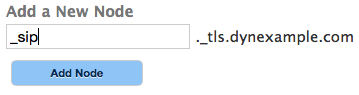 |
| 5. Within the “_sip” node, select SRV from the Add a New Record drop-down menu. |  |
| 6. Fill out the fields for the SRV record as follows: TTL: 1 hour Priority: 100 Weight: 1 Port: 443 Target: sipdir.online.lync.com |
 |
| 7. Click Add. | |
| 8. Return to the zone editor for your zone’s apex (your domain) and create new node call “_tcp” and then click Add Node. | 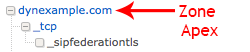 |
| 9.Within the “_tcp” node, create a second new node called “_sipfederationtls” and click Add Node. | 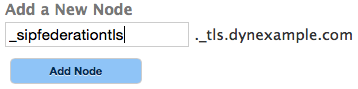 |
| 10. Within the “_sipfederationtls” node create a new SRV record with the following parameters: TTL: 1 hour Priority: 100 Weight: 1 Port: 5061 Target: sipfed.online.lync.com |
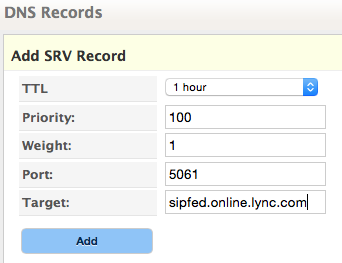 |
| 11. Click Add. | |
| 12. Click Review Changes and Publish. |