Setting up the HTTP Redirect service sends visitors to your domain or sub-domain to a new location. The Redirect can occur to a different domain or sub-domain and can include a path to a specific directory or file on the target web server.
Learn more about HTTP Redirect »
To Setup the HTTP Redirect Service
| 1. Click Overview or Manage DNS. |
 |
| 2. Find the zone which contains the node where you want to add the service. Click Manage in the right most column of the display. |
 |
| 3. Select Simple Editor from the tab menu. |
 |
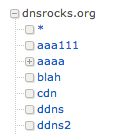
| 4. Scroll down the navigation tree to find the node where you want the service added. |
 |
| 5. Scroll to the Services section. |

|
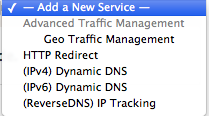
| 6. Select HTTP Redirect from the Add a New Service drop-down.
Note: The HTTP Redirect service will not appear in the drop-down list if a CNAME or A record already exists on this node.
|
 |
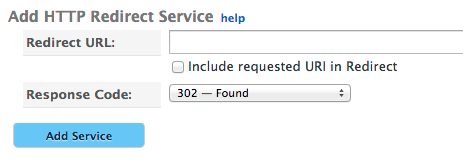
| 7. Use the following information to complete the HTTP Redirect form:
Redirect URL — Enter the full URL, including http:// or https://, where users will be redirected when accessing the selected zone node.
Include requested URI in Redirect — Check if you want to preserve the user’s specific path to a subdirectory. Leave unchecked to simply redirect users to the Redirect URL.
Response Code — Choose the response code associated with this redirect.
301 — Moved Permanently
302 — Found. (Default)
Add Service — Click to add the redirect service to the zone node. |
 |
« DNS Knowledge Base


