Setup
Download and Install
Before you begin, you will need to:
- Create an account
- Create a DynDNS host or purchase Dyn Standard DNS
- Download the Dyn Update Client for Mac OS X
Once you have downloaded the client, locate and double click on the DMG file you downloaded.
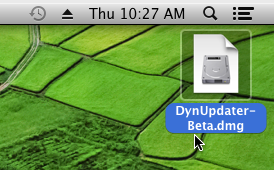
Figure 1: Open the downloaded DMG file.
Next, you should drag the application into your Applications folder.
NOTE: The Dyn Updater *must* be installed into the Applications folder and will not run from anywhere else.

Figure 2: Drag the Dyn Updater into Applications to install it.
Getting Started
The first time you open the Dyn Updater after installing it, you'll be presented with a Welcome dialog followed by the Preferences dialog. Click OK in the Welcome dialog after reading it.
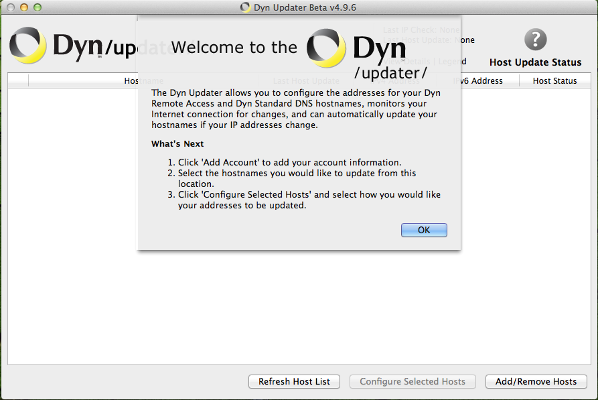
Figure 3: The Welcome screen is shown if you open the client and no accounts are configured.
Next, the Preferences dialog will be shown. You can choose to select either or both options at the bottom of the screen, then click Add Account to enter your account information.
Bypass proxy servers when detecting IP addresses - Click to add a checkmark if you have a proxy configured for your internet connection and you want the Updater client to connect directly to the Internet to obtain your IP address information instead of using the proxy configuration.
Use Dyn Recursive DNS servers on this machine - Click to add a checkmark if you want to use Dyn's Recursive DNS service instead of the recursive service provided by your ISP. Click the question mark for more information on this choice.
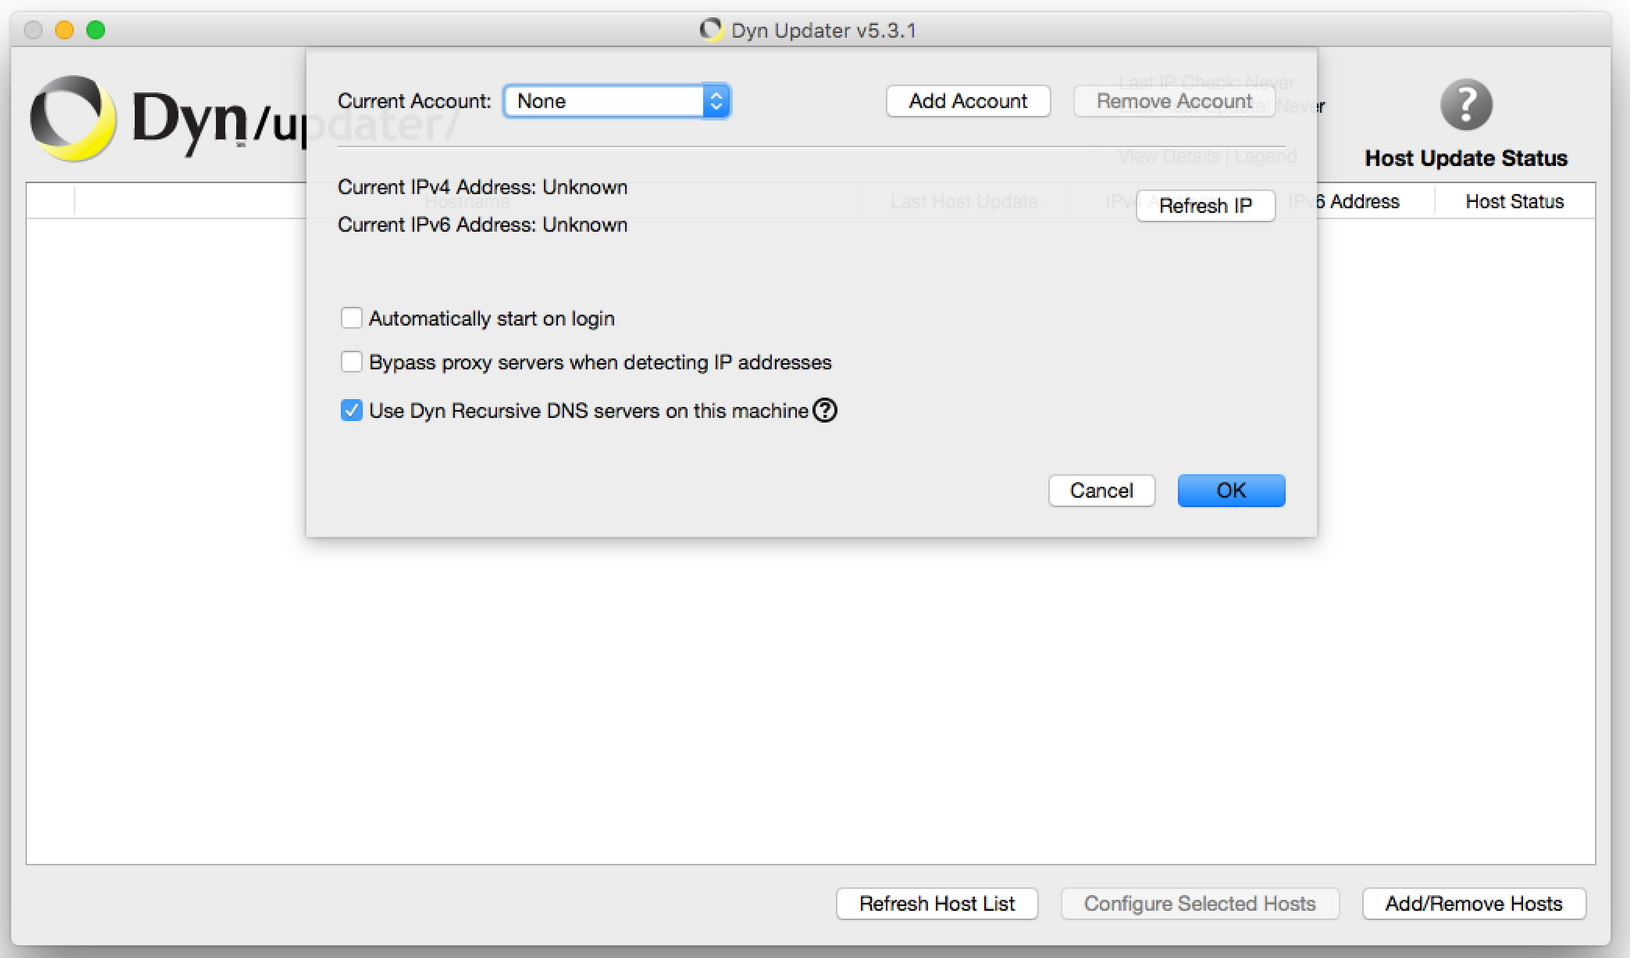
Figure 4: The Preferences dialog where you choose to Bypass proxy servers and/or Use the Dyn Recursive DNS servers.
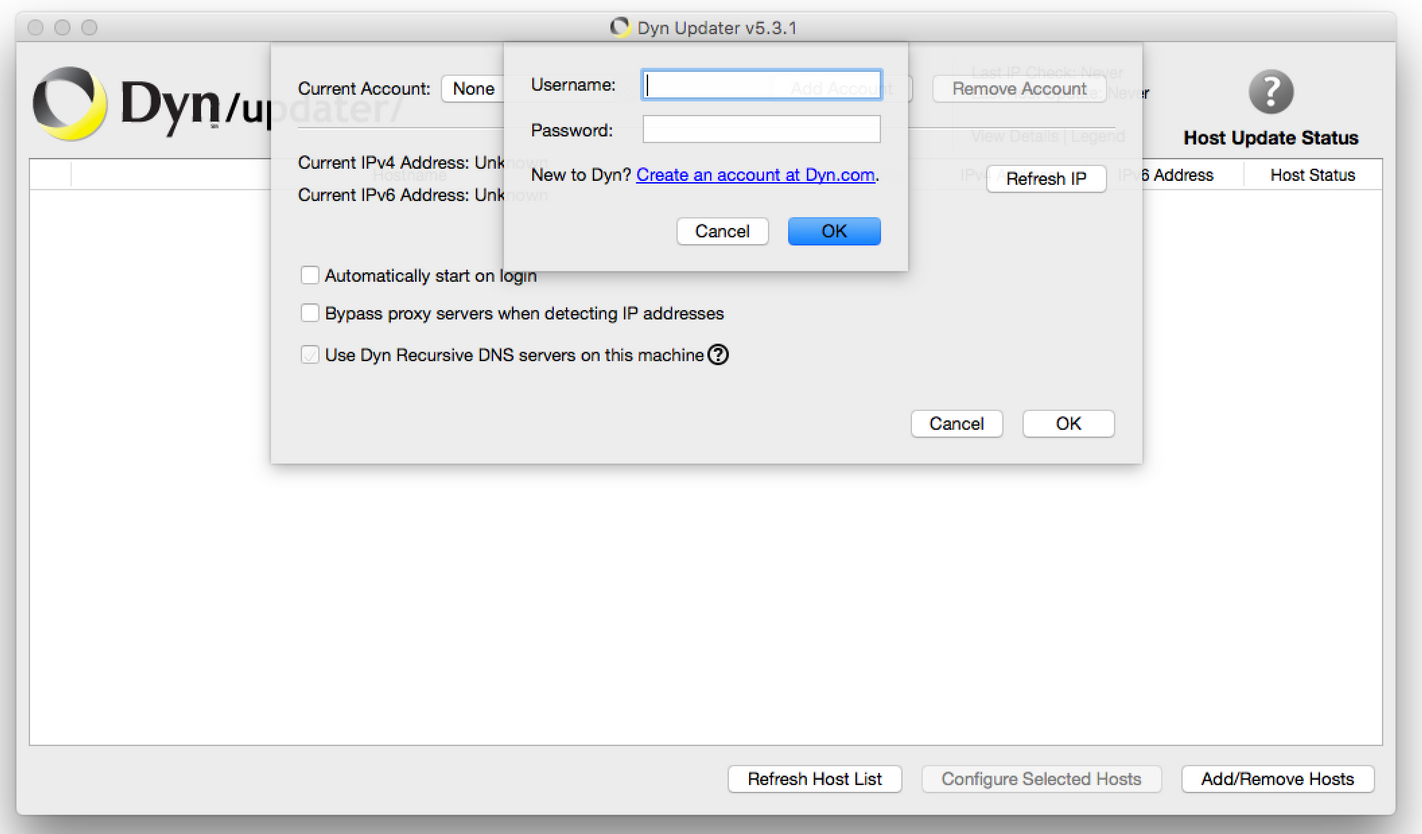
Figure 5: Enter your Dyn account username and password.
Hostname Selection
You should now see all of your hosts that exist in your account, but they are not being automatically updated yet. You should select which hosts you would like to update by clicking the check boxes to their left, then clicking on the Configure Selected Hosts button. Since you can update hostnames in different ways (more on that below), you can have different hosts set to update differently all within the same Update client.
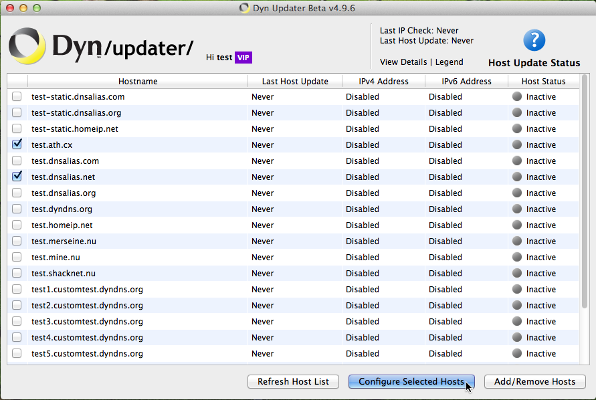
Figure 6: Choose which hosts you would like to update, then configure them.
Next, you'll configure how you would like your hostnames to be updated, and for which IP protocol(s).
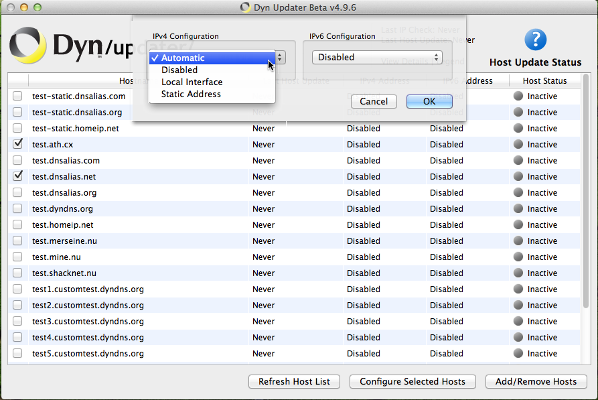
Figure 7: configure your selected hostnames.
Here's what these options mean:
- IPv4 Configuration: The option you select here controls how the IPv4 record of your hostname is updated. IPv4 is the older, more common, IP address protocol in use. IPv4 addresses look like 123.123.123.123.
-
IPv6 Configuration: The option you select here controls how the IPv6 record of your hostname is updated. IPv6 and IPv4 records can co-exist on a hostname, allowing whoever is connecting to the hostname to use what protocol is available to them. IPv6 is the newer, less common, IP address protocol in use. If you do not have IPv6 connectivity through your ISP, you should disable this option to avoid updates not occurring. IPv6 addresses look like 2600:200f:1:1234:abcd:ef12:3456:789a.
-
Automatic: This option uses the address your machine connects to the public Internet on, as seen by a remote server. This is the most commonly desired configuration.
- Disabled: Do not create a record for this IP address protocol when sending updates. Disabling both protocols disables all updating for a hostname.
- Local Interface: Provides of a list of interfaces to choose from when selected. When sending updates, this uses the first IP address found on the specified interface. This is useful to update a hostname to an internal IP address of a machine.
- Static Address: Provides a text field to enter an address when selected. When sending an update, this exact address is used for this IP protocol. This is useful to have one IP address protocol detected automatically in some way, with the other set to a specific address always.
Once you click OK, an update will be sent with your new settings and if all goes well, you'll get a good status like below. If you get something other than a green 'good' status, click on the Legend inside the client to see what it means. You can quickly see which hosts are configured to be updated in your client by looking at the Host Status column to the right of each host. Hosts that are being monitored for IP changes have the green Active icon.
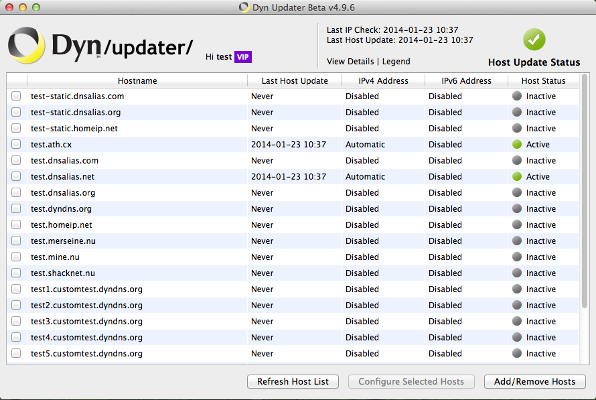
Figure 8: Hosts configured and updated.
What if something went wrong?
If you got a status other than green when the update was sent, you may have a mis-configuration you need to correct, like a second update client running somewhere updating that same hostname, or a problem with your internet connection. You can get more information about what exactly is going on by clicking on View Details.
In the example below, the Updater was unable to determine an IPv6 address for the computer, but updates were successfully sent as none of the hostnames were configured to include IPv6 support. This is a common warning as many internet service providers have not yet made IPv6 available to customers, and can be safely ignored so long as the hosts were updated successfully.
If you needed more assistance from our support team, you can also export your logs from this window to include when contacting them.
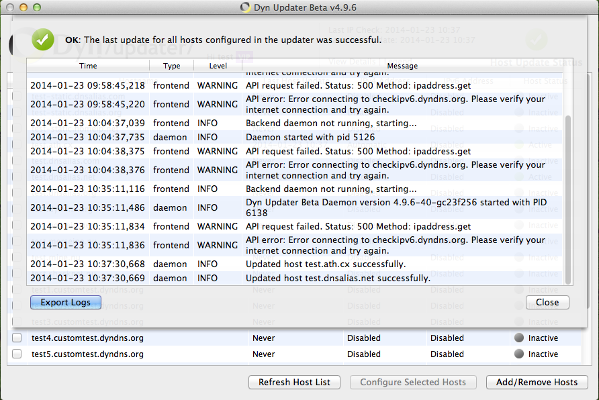
Figure 9: The logs dialog allows you to look at what's going on behind the scenes.
Adding to Login Items
You'll generally want the Dyn Updater to start up with your computer, so you'll need to add it to your login items. You can do this by going to your System Settings, then clicking Users & Groups, then by clicking on the Login Items tab. Click the + and add the Dyn Updater. You may need to click the lock icon to unlock configuration first.
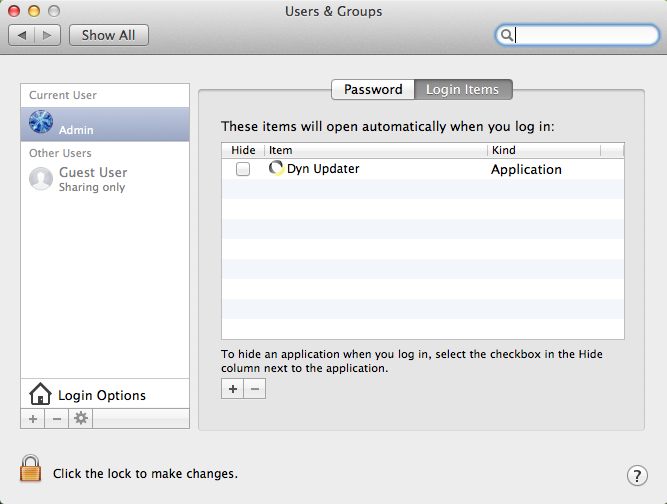
Figure 10: Add a login item.
Making changes or checking status
At this point, you may close the Dyn Updater window. The Dyn Updater will continue to run in the background and may be accessed via the icon on your menu bar in the top right of your screen.
![]()
Figure 11: The Dyn Updater menu bar icon.
Uninstallation
If you wish to remove the client from your system, you can quit the client and drag the application to your trash.
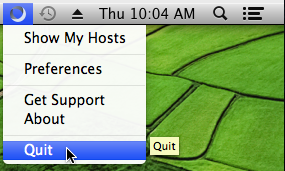
Figure 12: Quit the Dyn Update client before removing it.
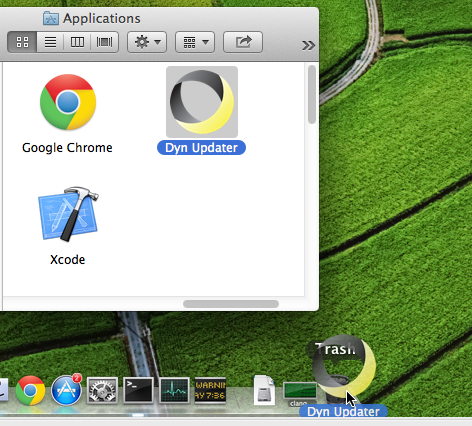
Figure 13: Drag the Dyn Updater icon from your Applications folder into your Trash.
Normally the Dyn Updater's preferences are left behind so that if you reinstall the client in the future, your configuration isn't lost. If you'd like to remove the application preferences from your system, remove the ~/.dynupdater/ directory as the user who was running the client.