Dynamic Steering brings together Dyn’s robust Internet Intelligence data sources and analytics and Managed DNS services to steer your internet traffic based on real-time network conditions, such as end user performance and asset and availability.
In this tutorial we will setup a Dynamic Steering Policy and attach it to an existing zone. In this scenario, we are using two cloud providers (AWS and Digital Ocean) to host resources, and we will build a policy that ensures traffic is best routed to the providers based on the current network conditions of each end user.
| 1. Log-in to your account using your DynID and select Traffic Steering from the list of services. |  |
| 2. Click on Add Policy. | |
| 3. Give your Policy a title and set your Time To Live (TTL) parameter. | |
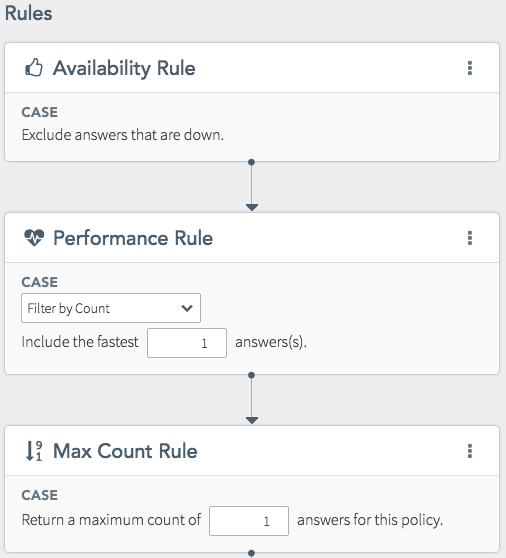
| 4. In the Rules section you can set, add, and delete Rules.
Rules define the filters that Answers must meet to be included in a DNS query response. By default, the Rule will exclude Answers that are down, filter by the first fastest answer and return a maximum of one Answer for this Policy. The Rule defaults are sufficient for this tutorial. |
 |
| 5. Beside Answers, click Add. |  |
| 6. Answers are data to be included in the response to a DNS query.
Name: Enter a name of your choice for this Answer. Click Add. |
|
| 7. Repeat step 6 to create a second Answer for your Digital Ocean machine. | |
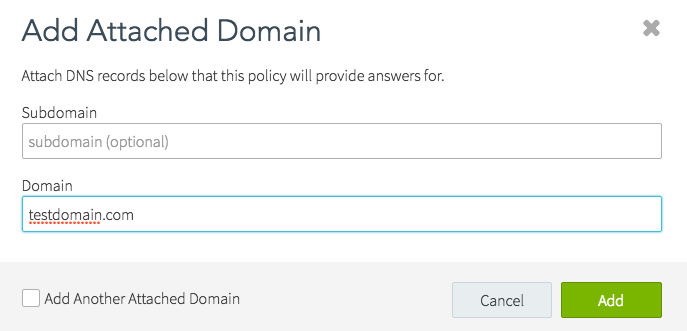
| 8. Beside Attached Domains, click Add. |  |
| 9. You can attach domains or subdomains to this Policy that already exist within your Dyn Managed DNS account. Enter a domain and click Add.
NOTE: The subdomain field should remain empty. This will allow Attachments to be added to the zone’s apex. If the subdomain field must be defined, the subdomain should already be defined in your Managed DNS account as a node. |
 |
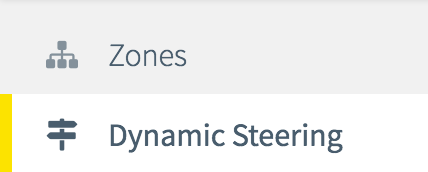
| NOTE: If you need to add or manage a domain in your DNS account, click the Zones tab from the navigation menu. You will be brought to your Managed DNS account and you can manage your zones from there.
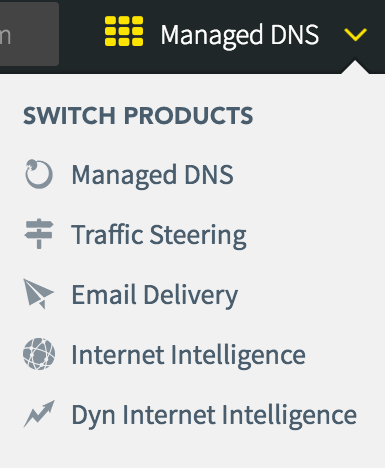
Navigate back to Dynamic Steering using the Managed DNS pull-down menu at the top of the screen. |
|
| 10. Click Publish Changes at the top of the screen.
Your Policy will be published and the specified domain will answer DNS queries using the Rules and Answers of this Policy. |
