Setup
Download
Before you begin, you will need to:
- Create an account
- Create a DynDNS host or purchase Dyn Standard DNS
- Download the Dyn Update Client for Windows
In this example, we've downloaded the Dyn Updater to the desktop.
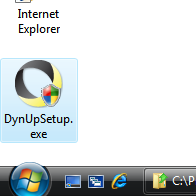
Figure 1: Example of the downloaded Dyn Updater (DynUpSetup.exe)
Install
Before installing the Dyn Updater, make sure ALL previous dynamic DNS update clients have been uninstalled from your computer.
To run the Dyn Updater Installation, locate the file DynUpSetup.exe on your computer. Double click the icon to run it. If you're not logged in as an administrator, you may need to right-click DynUpSetup.exe and select "Run as administrator."
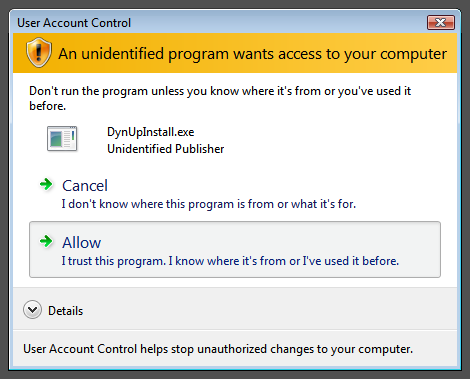
Figure 2: By default, Vista requires users to confirm before running an installer. Just click Allow to continue with the Setup process.
Please read the license agreement that displays when setup loads.
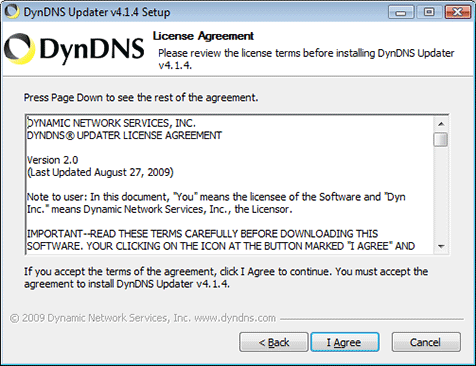
Figure 3: Dyn Updater License Agreement
Select the features you would like to install. If you are unsure, use the default options, they provide the most functionality.
Show a Tray Icon
When selected, a tray icon, or notification area icon, will be displayed along with your other system utilities. This icon allows for quick configuration of the Dyn Updater, but is unnecessary for full functionality.
Start with Windows
When selected, the Dyn Updater will start with Windows. If you've chosen to install the Tray Icon as well, it will also start with Windows.
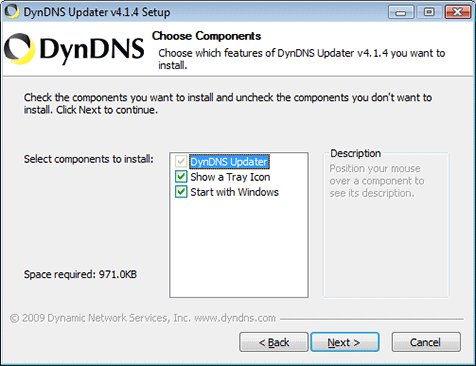
Figure 4: Dyn Updater component selection page.
Select whether you wish to enable Internet Guide, our free recursive DNS service which offers phishing and malware protection as well as customizable content filtering. (You may disable the service at any time by unchecking the "Enable Internet Guide" field on the Advanced tab of the update client.)
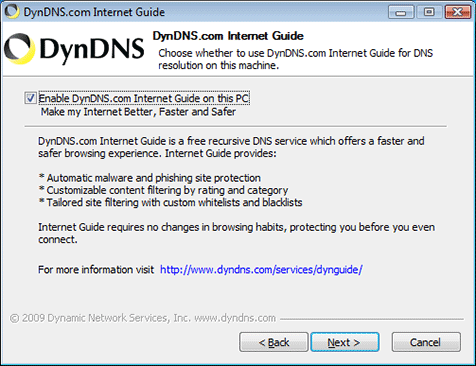
Figure 5: Dyn Updater Internet Guide setup page.
Select an installation folder. The default detected folder should work for everyone.
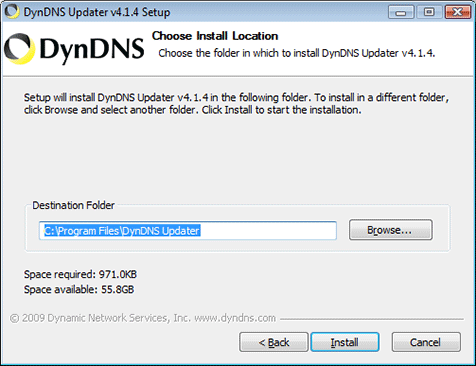
Figure 6: Dyn Updater installation folder.
The client will begin installing when you click the Install button.
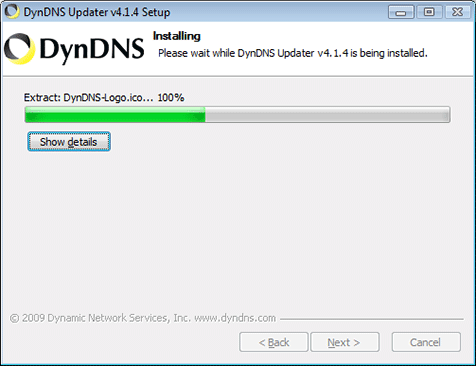
Figure 7: Dyn Updater installation.
In this example, we'll keep 'Run Dyn Updater' checked. If you do not want to begin updating immediately, uncheck this option. To learn how to manually execute the Updater and its configuration utility, please read the General Use section of this article.
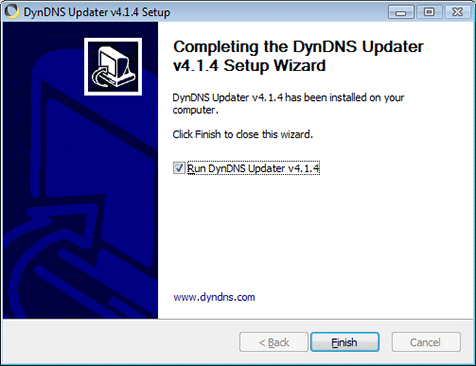
Figure 8: Setup complete.
First Run
The first time you start the Updater's configuration, you'll be asked to enter your Dyn username and password. If you do not have one, you should create an account to obtain full functionality of our software and services.
Simply enter your username, followed by your password, as shown below. When you're done, click 'Okay'.
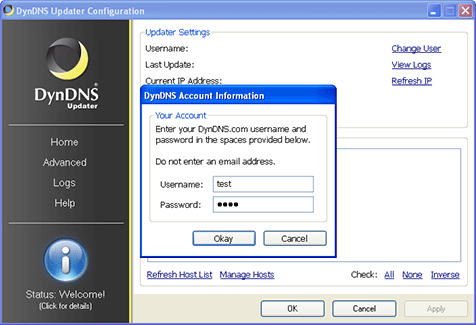
Figure 9: Dyn Updater requires your Dyn username and password.
If you've entered your username and password correctly, the Dyn Updater will automatically download a list of hosts from your account. From this list, you may check which hosts you'd like to keep up-to-date with your computer's IP address. You may check up to 20 hosts.

Figure 10: Hosts have been automatically downloaded from Dyn.
After you've selected the hosts you want updated, click the Apply button (highlighted in the image below). Once you click Apply, the Updater will automatically update the hosts you selected.
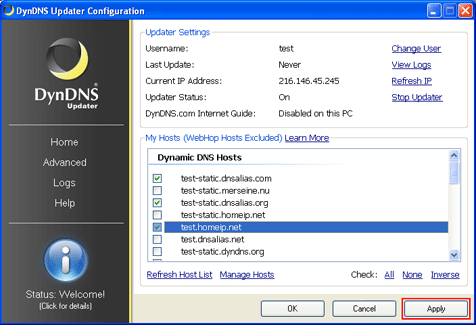
Figure 11: Hosts selected, ready to apply settings.
If everything goes well, you should receive a response code of 'good' in your logs, indicated by a Green status symbol.
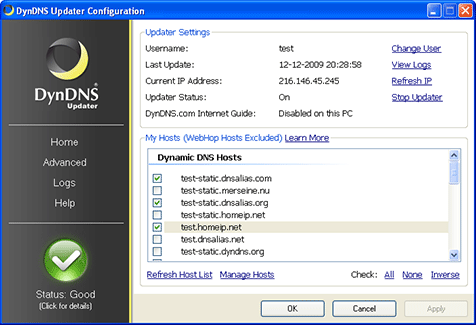
Figure 12: Once applied, the Status changes to Good.
At this point you can exit the Updater by clicking OK. If you've received a status other than green, you may wish to read the General Use section of this article.
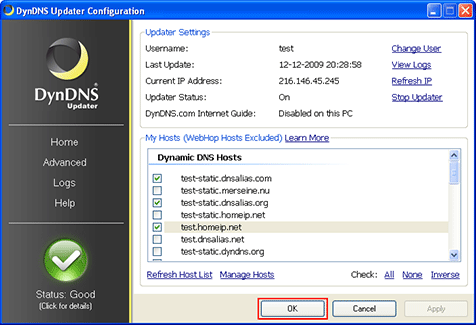
Figure 13: Updater configured, you can click OK to exit.
The Updater will remain running in the background after it has been configured. Unless you obtain more hosts, or experience problems with the Updater, you should not have to run the Configuration again.
General Use
Configuration
There are a few ways to access the Dyn Updater Configuration tool.
Below shows the Dyn Updater tray icon in your system's notification area. Double clicking the icon will load the Configuration tool. You can also right-click the icon for more commands (such as manual control of the Updater).
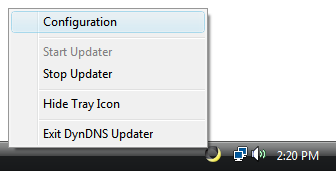
Figure 14: Dyn Updater Tray Icon
You may also access the Dyn Updater Configuration tool from the Windows Start Menu, and the Windows Control Panel.
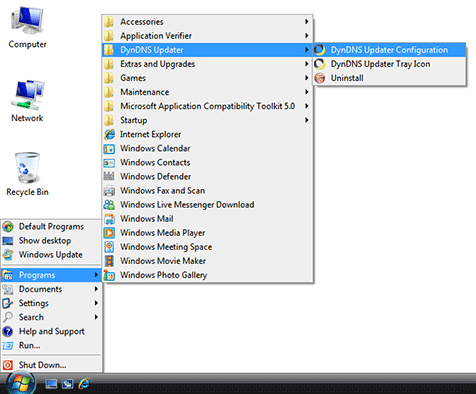
Figure 15: Dyn Updater accessed from the Start Menu.
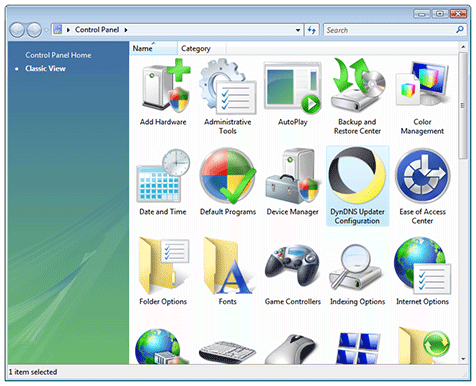
Figure 16: Dyn Updater in the Control Panel.
Status
Status codes indicate how the Dyn Updater is updating your hosts. If the status is good (Green), then your hosts are up-to-date and you have nothing to worry about.
A yellow (Warning) status indicates that the Updater needs your attention. Typically, you will receive a Warning if the Updater has submitted the same IP address multiple times within a period of 2 days. To reduce load, Dyn requests that you only update your hostnames if their IP addresses change. The Dyn Updater does its best to adhere to this rule, but if you submit the same IP address more than twice in a row, you will receive this status in the Dyn Updater. If this occurs only once, it is generally not an issue. However, if you see multiple Warning messages in your Logs, you should determine the problem immediately, otherwise your account may be blocked due to abuse.
Common reasons for receiving a Warning message include:
- Running multiple update clients on one computer, such as version 3.0 and version 4.0 simultaneously.
- Running multiple update clients on the same network, such as dynamic DNS software on your router, and an update client on your computer.
- Fresh installation of the Dyn Updater, where all your hosts were already up-to-date.

Figure 17: Warning status.
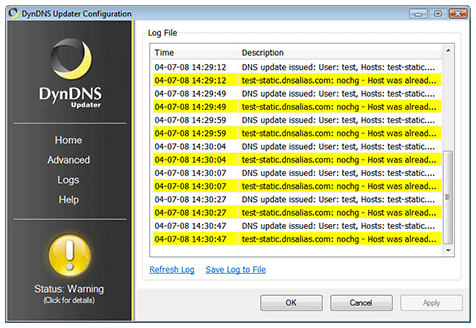
Figure 18: This image shows multiple consecutive warnings, which require user attention before the account gets banned.
A red (Critical) status indicates that the Dyn Updater has received an unrecoverable error. This status requires immediate user attention. Some causes for a Critical status are:
- Invalid account information (username or password is incorrect).
- Invalid query sent to Dyn, Check your Internet connection to make sure data is being transmitted correctly.
- Your account has been blocked due to abuse.
In the following example, we show how to recover from a Critical response. In this case, the username and password have been entered incorrectly. Notice the Username below is 'tset', when we meant to type 'test'.
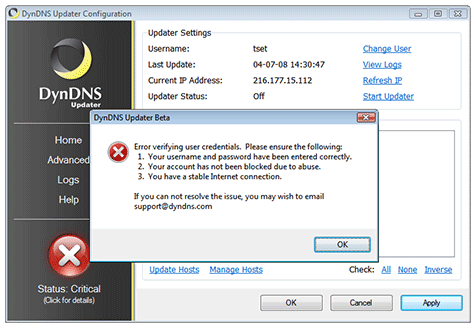
Figure 19: Username and password have been entered incorrectly.
Click Change User to modify your account information. Type in your username and password correctly.
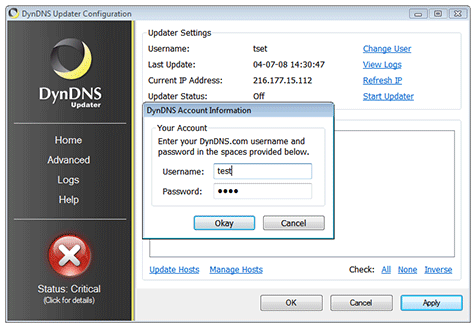
Figure 20: Username and password are corrected.
The changes must be applied before the Updater will use them, so click the Apply button.

Figure 21: Changes are applied.
After you have fixed your problem, you can either click the Critical status icon, or simply click Start Updater to begin updating again. In the example below, we've clicked the status icon, which asks us to confirm that we've fixed the problem. Click Yes if you have.
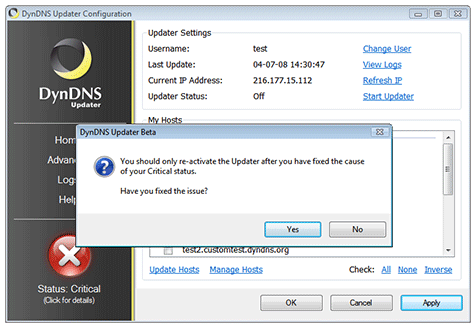
Figure 22: The Updater is reactivated.
If your host required an update, you will likely receive a Good status. If an update doesn't occur, your status may remain Critical until a successful update occurs. This can be as long as 3 days in some cases. In this case, check the logs to make sure you haven't received another Critical status.
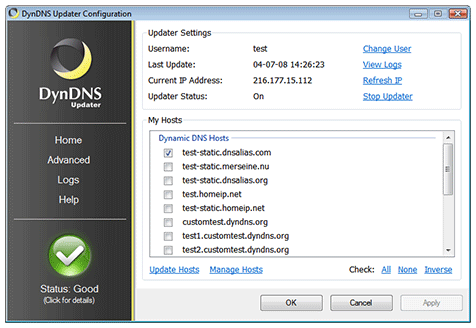
Figure 23: Everything is working again.