Dynamic DNS (DynDNS Pro) hostnames are created for each IP address you are tracking, or webhop you are creating. Each instance of Dynamic DNS gives you the ability to create 30 hostnames.
| 1. Log in to your Dyn account. | 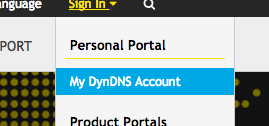 |
| 2. If you have already purchased Dynamic DNS, you're able to add hostnames. Click on Add Host Services from your account control panel to get started. If you haven't purchased Dynamic DNS (DynDNS Pro) and need assistance in that process, click here for help. | 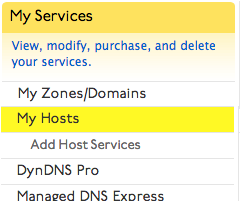 |
| 3. You will need to think of an easy-to-remember identifier for your new hostname. Input that identifier into the Hostname field. NOTE: This field can only take alphanumeric characters - must be between 2 and 24 characters. If the name is not available, you will be notified when you complete the task in Step 6 of this article. | 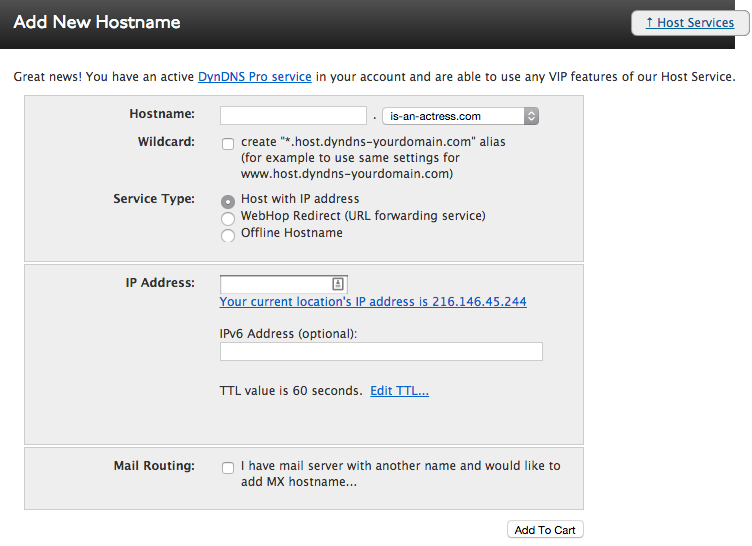 |
| 4. Select a shared domain name to associate your hostname with. | 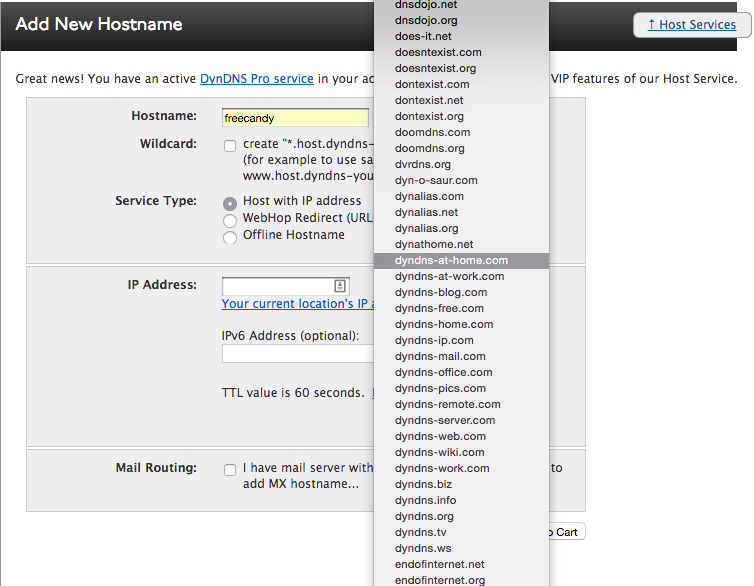 |
5. Once you have figured out a hostname to use, you will need to tell us where you want this hostname to go. You can have your hostname point to:
Looking to do some mail routing or fiddle with the TTL? Click here for help.
| a)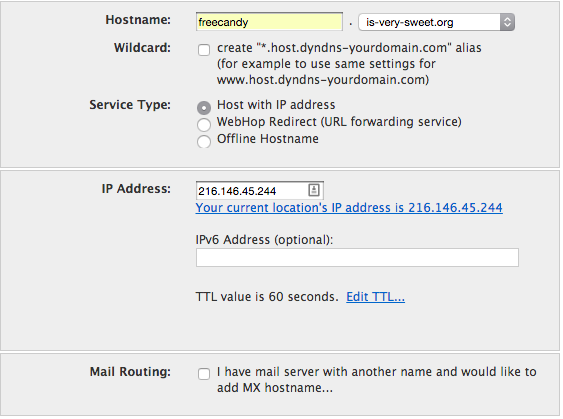 b) b) c) c)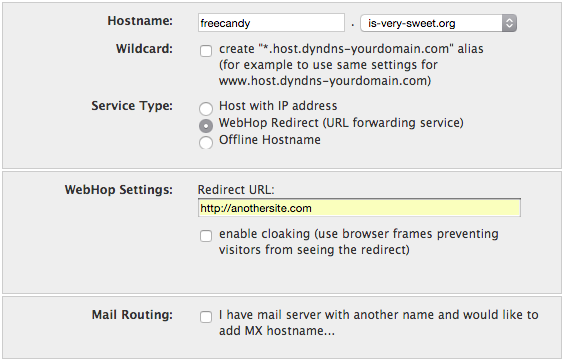 |
| 6. Once you've got your settings in place, you're ready to hit Activate. If you have other products in your shopping cart, this button will appear as Add To Cart; your new hostname will be added as a $0.00 item to your cart, as you must go through the checkout to activate the new host. |  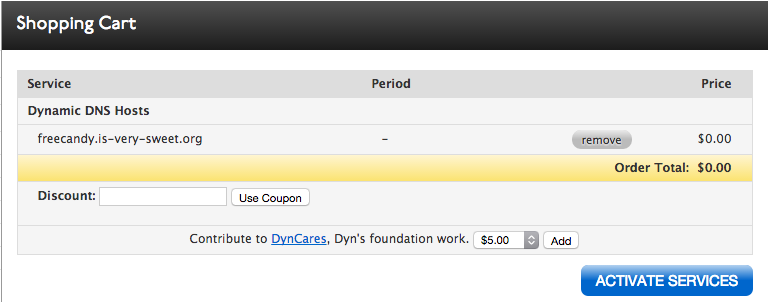 |
Next: Getting Started With Your Hostname
Purchasing Dynamic DNS
Please follow these steps for purchasing Dynamic DNS
- Log in to your Dyn account
- Click on Dynamic DNS under My Services
- Click on + Add Pro on the screen that comes up
-
Confirm that the Packs You Have line indicates that you have none in your account. Specify the number of 30-host packs you would like to purchase, and the amount of time you'd like to subscribe for.
Most users only typically need one pack of hosts.
-
When your selections are set, press Add To Cart
- Proceed to the checkout, and your service will be active once payment has been successfully applied
Advanced Remote Access Options
Dynamic DNS gives you the flexibility of setting up your new hostname for mail routing. You also have the ability to select a custom TTL (Time To Live) value for your hostname, in the event that your use case requires it.
TTL Value
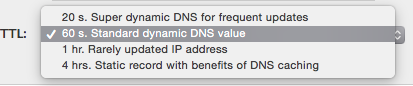
A record's TTL, or Time To Live, is the length of time (in seconds) that caching name servers will store your host's information in their local cache before performing a new query. Setting a low TTL value (e.g. 60 seconds) will shorten the length of time that it takes other name servers to notice that a change occurred.
Mail Routing
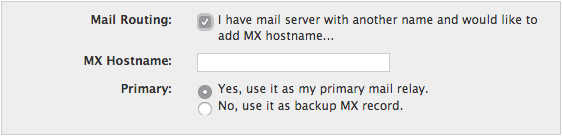
If your use case requires the ability to receive mail on behalf of the hostname you've created, you can use this field to specify the name of the mail server.